Content Workflow
Content Workflow is a way to make sure that content is reviewed and approved prior to content being published. Content Workflow has been integrated with Akumina Flow Designer to streamline and automate the content approval process, allowing reviewer comments, auto approval, and sending notifications to editors/reviewers. To learn more about Akumina Flow, see here.
Content Workflow requires the following steps:
- Establishing roles for the process
- Adding Content Approval to the list
- Triggering the Approval Flow for the Content App
Establishing Roles
Roles are used to define the user or set of users able to complete a certain task in the process. Roles can be defined based on Persona, Azure AD Group, Specific Users, or External Agents.
Content Workflow process flow requires a minimum of two types of roles to be created, an Author/Content Editor role and a role for the Content Reviewer(s).
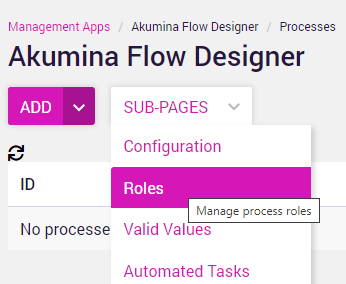
To create roles, go to AppManager in the Central Site > Management Apps > Akumina Flow Designer > Sub-Pages > Roles
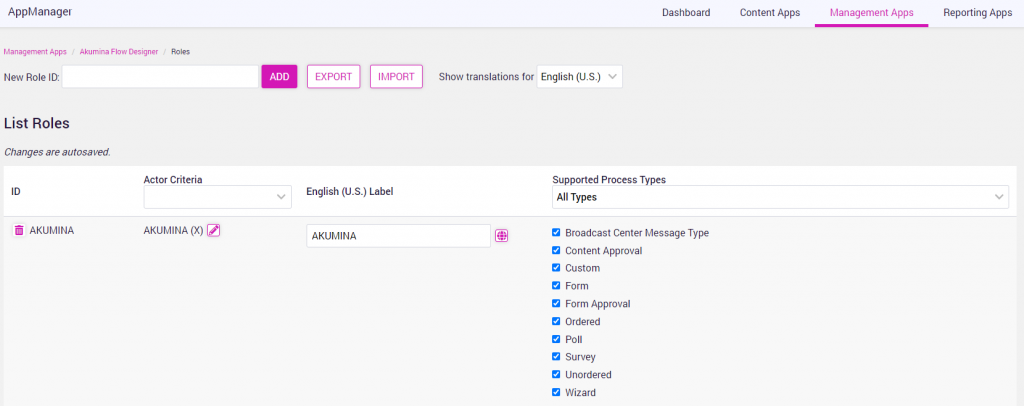
To create a new role, add a role name and click add.

When the role is created, the actor criteria (user(s) who can complete this role) is set to Everyone by default.
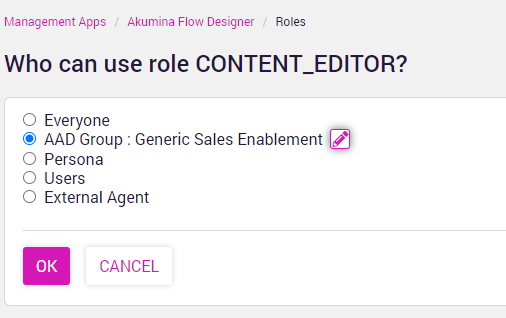
To edit the user(s) for this role, click the edit icon and select the appropriate user or user group.
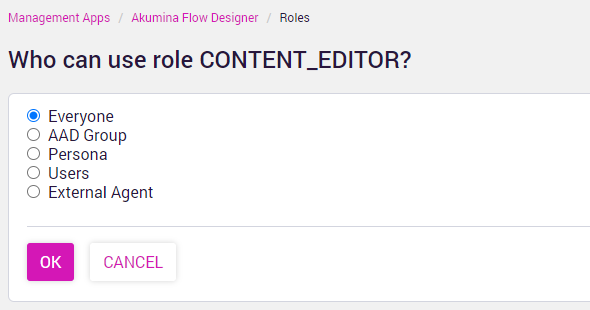
In this example, AAD Group has been selected and a modal to search AAD groups is presented to search. Select the group and click OK.
The role will be updated for those users in the selected group to have access to this role.
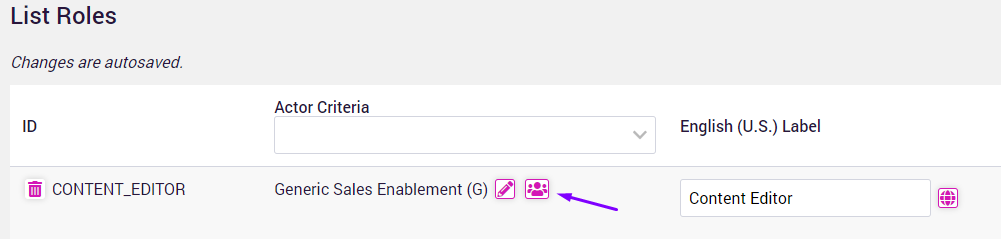
Clicking on the members icon will display all users (and their email) in the actor criteria for this role.
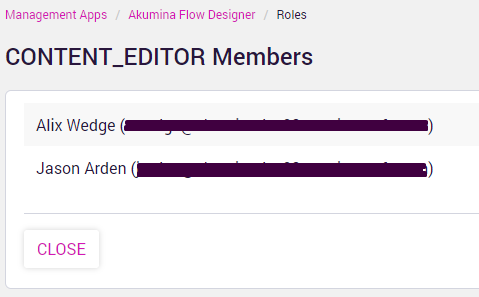
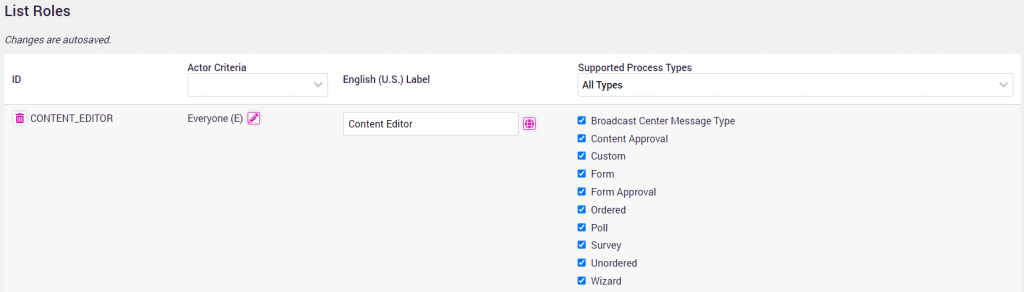
Follow the above steps to create a Content Reviewer role and select reviewer members.
Now that the author/editor and reviewer roles have been created, these roles are used when creating and activating content for content approval.
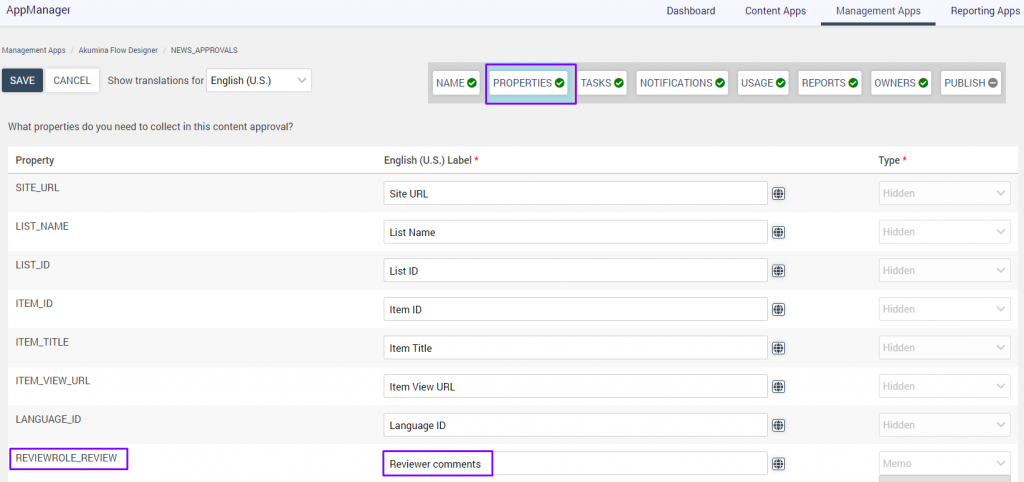
Adding Content Approval
To establish a Content Approval process, the SharePoint List’s content and the number of review tasks required to approve the content must be defined.
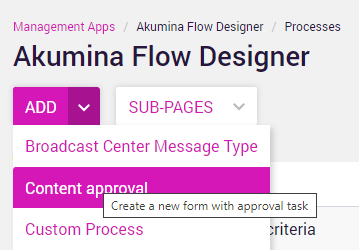
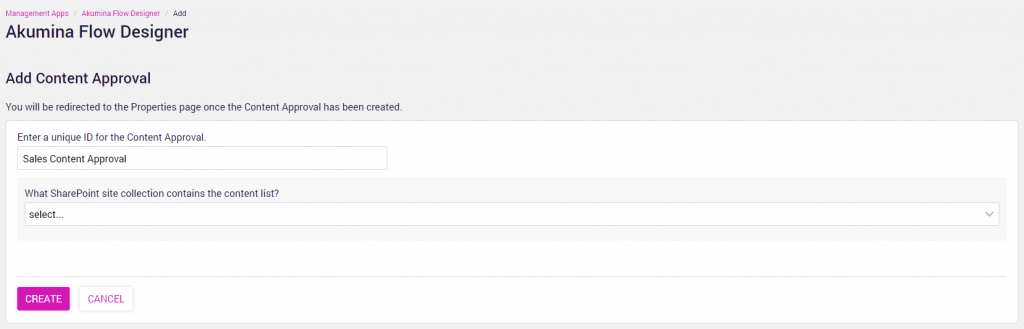
To add content approval, go to AppManager in the Central Site > Management Apps > Akumina Flow Designer > Add > Content approval
Provide a name for the Content Approval and select the SharePoint site collection from the dropdown that contains the SharePoint list.
Select the SharePoint Site that contains the content list.
Select the SharePoint list that contains the content.

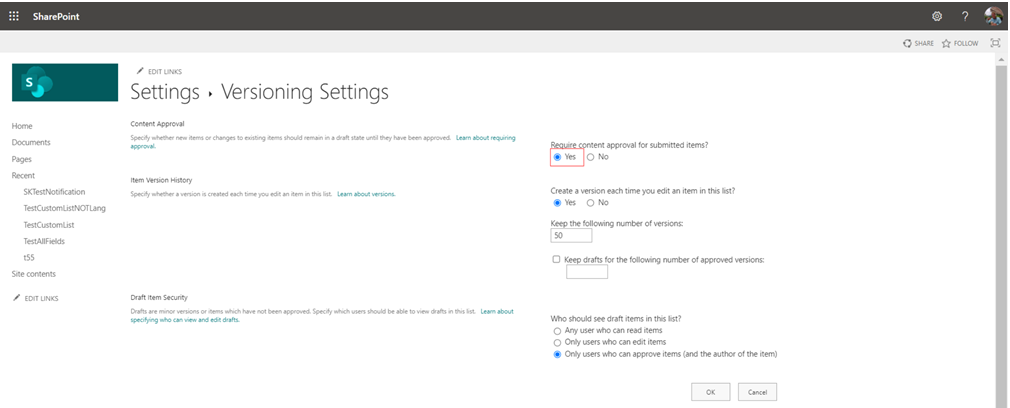
To turn SharePoint Approval to “On”, go to SharePoint > Settings > Version Settings and click “Yes” on require content approval for submitted items. This will replace the publish button in the content app with a submit button to trigger the approval process.
Select the role that can create an instance of this Content Approval. In our example, Content Editor.

Add the number of review tasks for this approval process. If the process requires two review tasks, select the role for each task and click “Add” button.
In the example below, two review tasks have been established for Reviewer and Manager.

For each review task, determine if auto approval is allowed by selecting yes/no in Allow Auto Approval. When Auto Approval is allowed, the content will automatically be approved and review members will receive a notification of auto approval.
The review tasks are completed in order as they are listed on the screen. The review task sequence can be changed using the up/down arrows.
Click on “Create” button to activate the Content Approval Process Flow.
Click on “Publish” and Click “Activate”.

The Content Approval Process Flow is activated and ready for use.
Triggering the Approval Process
When an editor has finished working on a content item, the item is set to Pending status. One or more appointed reviewers must then approve the content item before it can be published.
The approval process requires a Content App be created for the SharePoint list for which the content approval process flow has been created. Make sure SharePoint Approval is set to “On” to require content approval for submitted items. This will replace the publish button in the content app with a submit button to trigger the approval process.
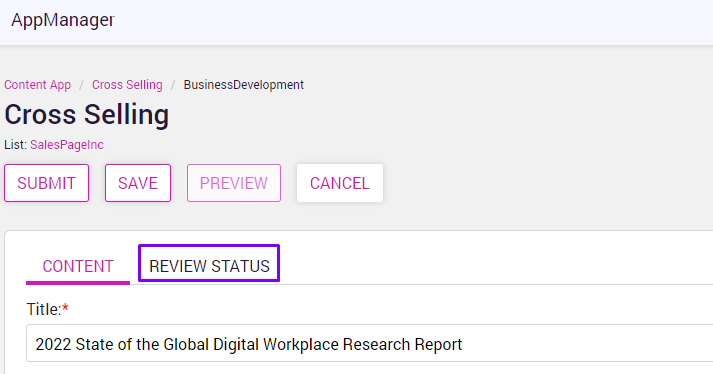
Submitting Content
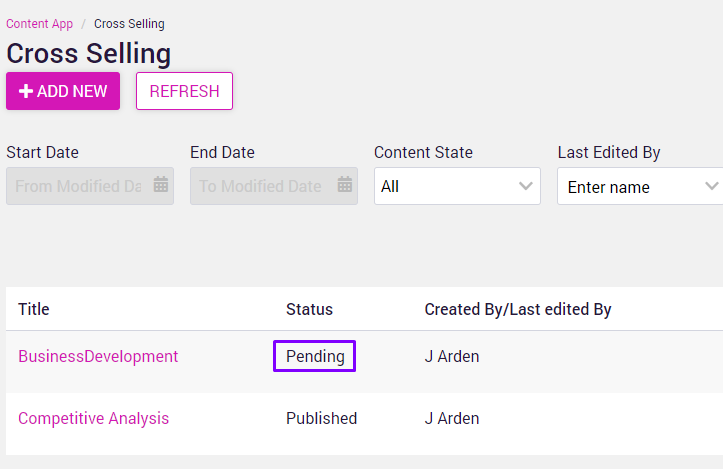
A Content Editor enters content into the Content App and clicks “Submit” to submit content for approval. The content will show in a pending status in the content app listing screen.
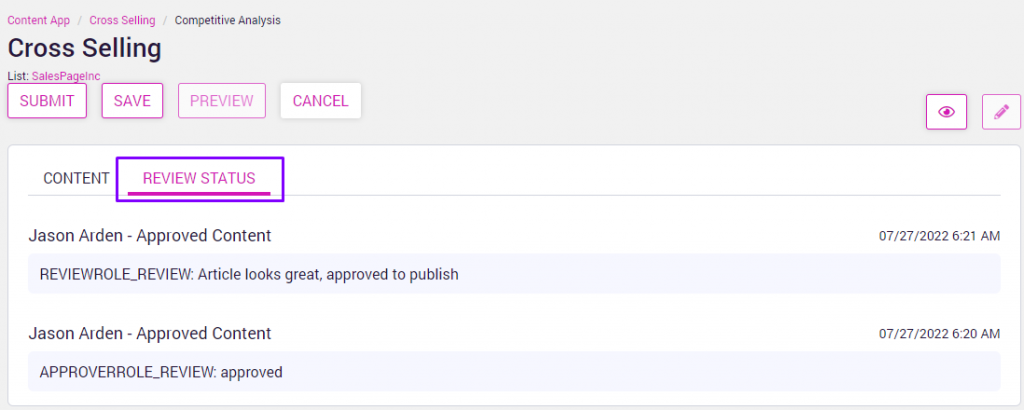
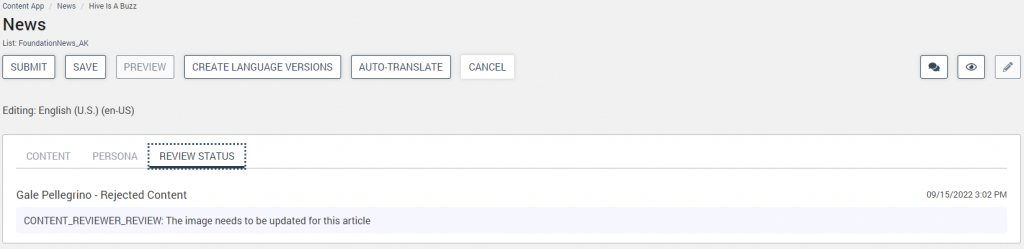
Content App – Review Status Tab
A Review Status tab will be displayed for in the Content App for the enabled SharePoint list.
The Review Status tab will show the review comments with approval or rejected status.
Reviewers Notifications
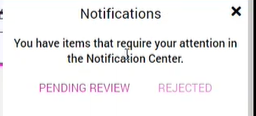
The Reviewers will receive a notification in AppManager notification bell that content is pending review.
Reviewer Approves/Rejects with Comments
Clicking on “Pending Review” will open the Notification Center in AppManager for the reviewer to review pending tasks.
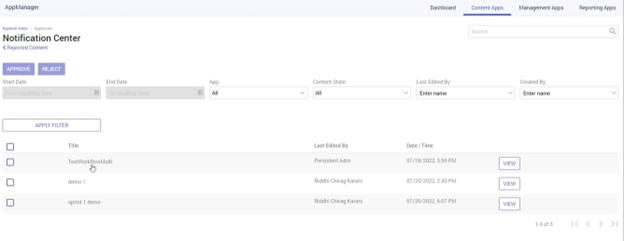
Clicking on an item or clicking view will provide the full details of the content.
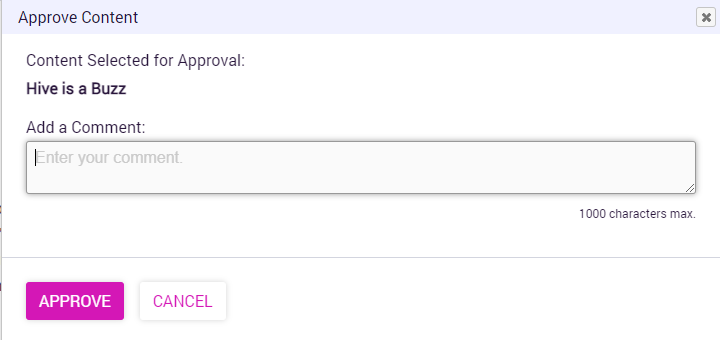
Clicking approve or reject will provide a modal for reviewers comments. Approval comments are optional.
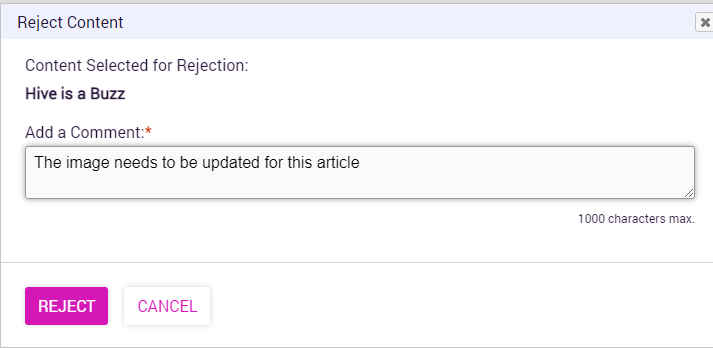
If reject is selected, a comment is required for submission to the content author.
Item is Published/Pending based on Reviewers Action
When the final reviewer has approved the content, it will show as published in the content app listing screen.
Content that has been rejected will show as pending in the content app listing screen. The Review Status tab will provide the reviewer who rejected the content and the reason for rejection.
The content author can update the content based on the comments and resubmit for approval.