The Voice Asset Library Module provides the ability to access documents, images and video libraries, or any library content across the site, provides ability to organize assets into folders, edit asset properties, upload/download, and crop/resize images.
The module header provides cross site navigation with drop down capabilities to access assets in any site, within a selected library, within a particular file type or all files.

Organizing Content into Folders
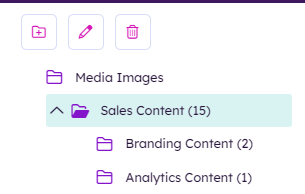
The left side of the Asset Library Module is used to organize the content into folders with buttons to create new folders, edit folders, and delete folders.
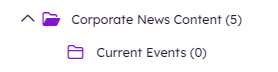
Adding a Folder
Select a folder and click on the add folder icon to add a new subfolder.
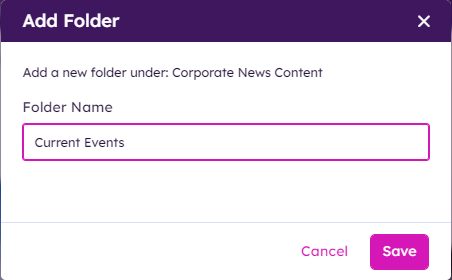
Enter a folder name and click save.
The new folder will display as a subfolder in the folder hierarchy, in this example under Corporate News Content.
Editing a Folder
Select a folder and click on the pencil icon to edit the folder name.
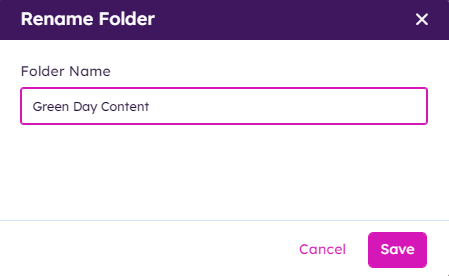
Enter a new folder name and click save.
The renamed folder will display in the folder hierarchy.
Deleting a Folder
Select a folder and click on the trash can icon to delete the folder.
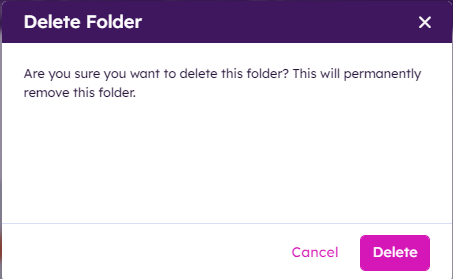
Click delete on the modal. This will delete the folder and the folder contents, and delete any associated subfolders and the subfolders content.
Adding Content to the Asset Library
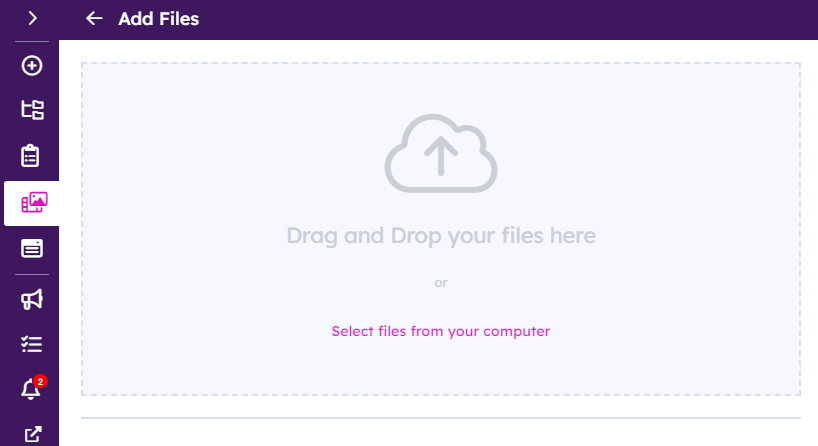
Click on Add Files in the upper right corner of the screen to add new content to the content app that is selected in the top bar.
Use the Add Files modal to drag and drop files or select files from your computer.
Select either single or multiple files to be uploaded and click Upload Files.
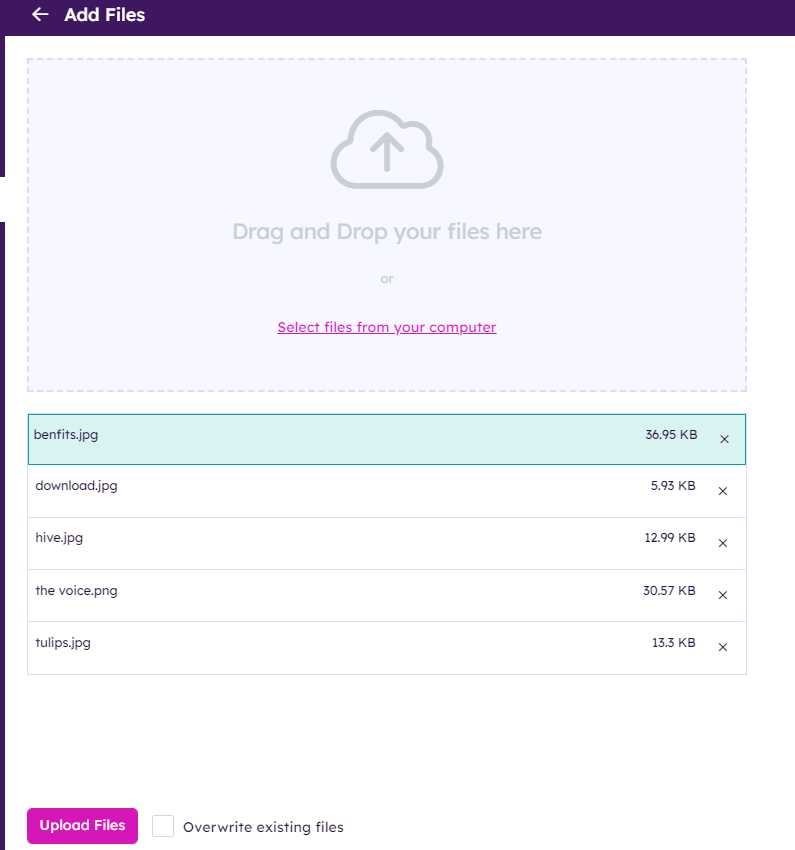
A progress bar will be displayed as the files are uploaded.
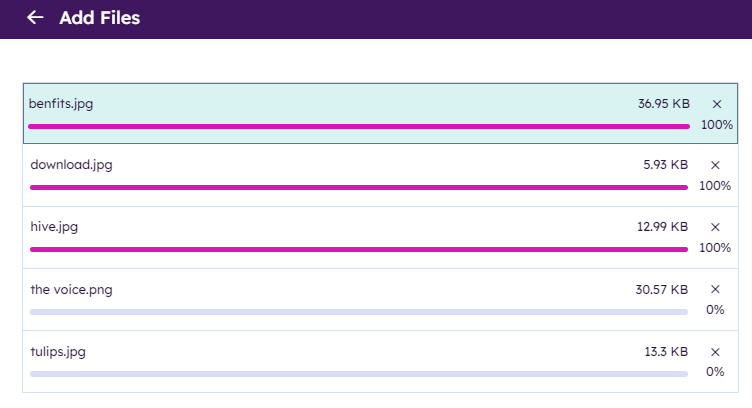
When the upload process is complete, property fields will display to enter the information for the uploaded content.
When uploading multiple files, individually select each file to fill out the required fields.

The fields that display are derived from the content app type and list associated with the content.
Enter the required information for the content and click Publish.
The new content will display in the Asset Library in the selected folder.
Note: To upload a new file to overwrite an existing file, click on the Overwrite Existing File checkbox when uploading the content.
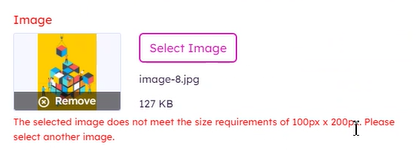
Adding an Image to a content app with Image Field Validation
When the image field validation is enabled in Content App Settings for the app, the image in the asset library will be validated to ensure it complies with the image restrictions when adding to the content app.

If the image does not meet the restrictions, an error message will display the size requirements are not met and to select another image.
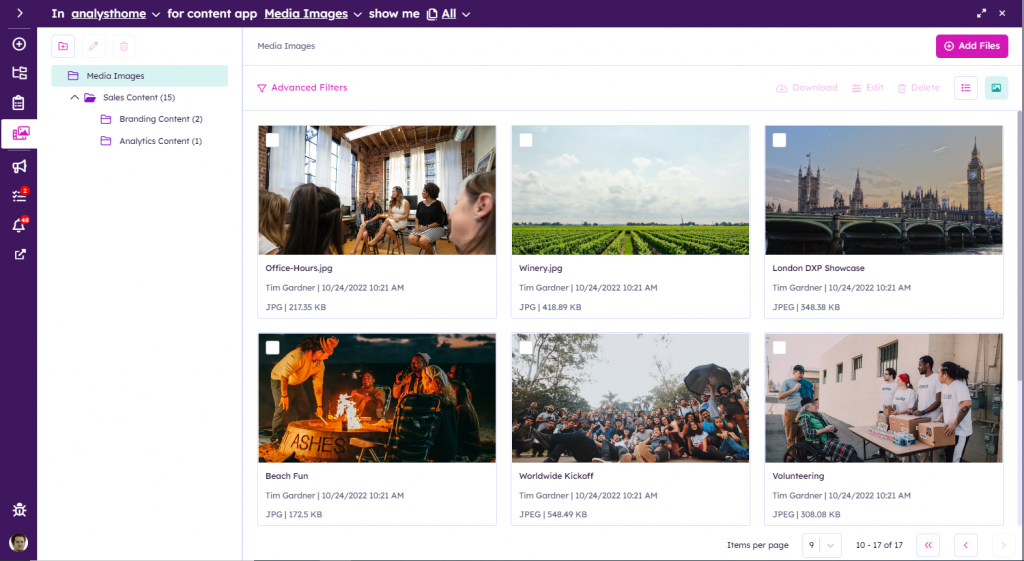
Asset Library Content
The Asset Library Content can be displayed in a listing view or an image view depending on the view icon selected on the right of the screen. ![]()
Advanced Filters
Click on Advanced Filters for filtering the content list to make it easier to find the desired item. Users can select the filter criteria and conditions to search based on selected content fields using query terms within the items.
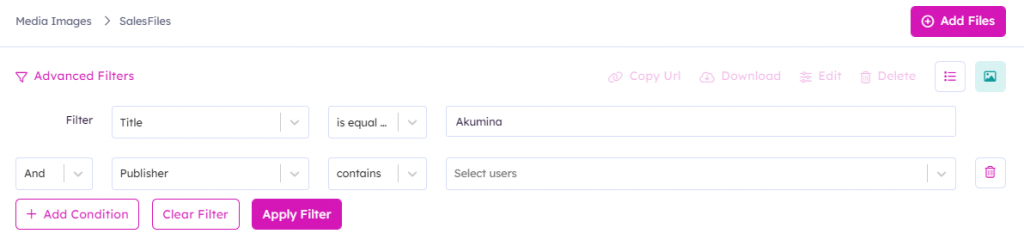
Click “Apply Filter” to view the results. Clicking the listing or image view icons to display the filtered results.
Basic Filters
Column filters can be used for filtering the content list in listing mode to make it easier to find the desired content item.

The search box at the top of each column can be used for basic filtering of the content list:
-
- search by content title
- filter by status of content
- filter by the person who originally created the content
- filter by the date content was created
- filter by the person who last edited the content
- filter by the date content was last edited
Copy-Download-Edit-Delete Content
There are two methods to enable the action items for selected content to copy, download, edit and delete content.
- Click on the checkbox to select an item, this will highlight the action buttons available for selection.

- Click on the ellipses on the content item.
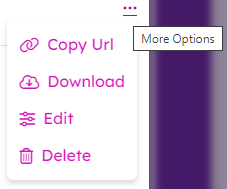
Copy URL
Clicking on Copy URL will copy the selected content SharePoint URL.
Download
Clicking on Download will open a new tab with the selected content and download a copy of the content to a local device.
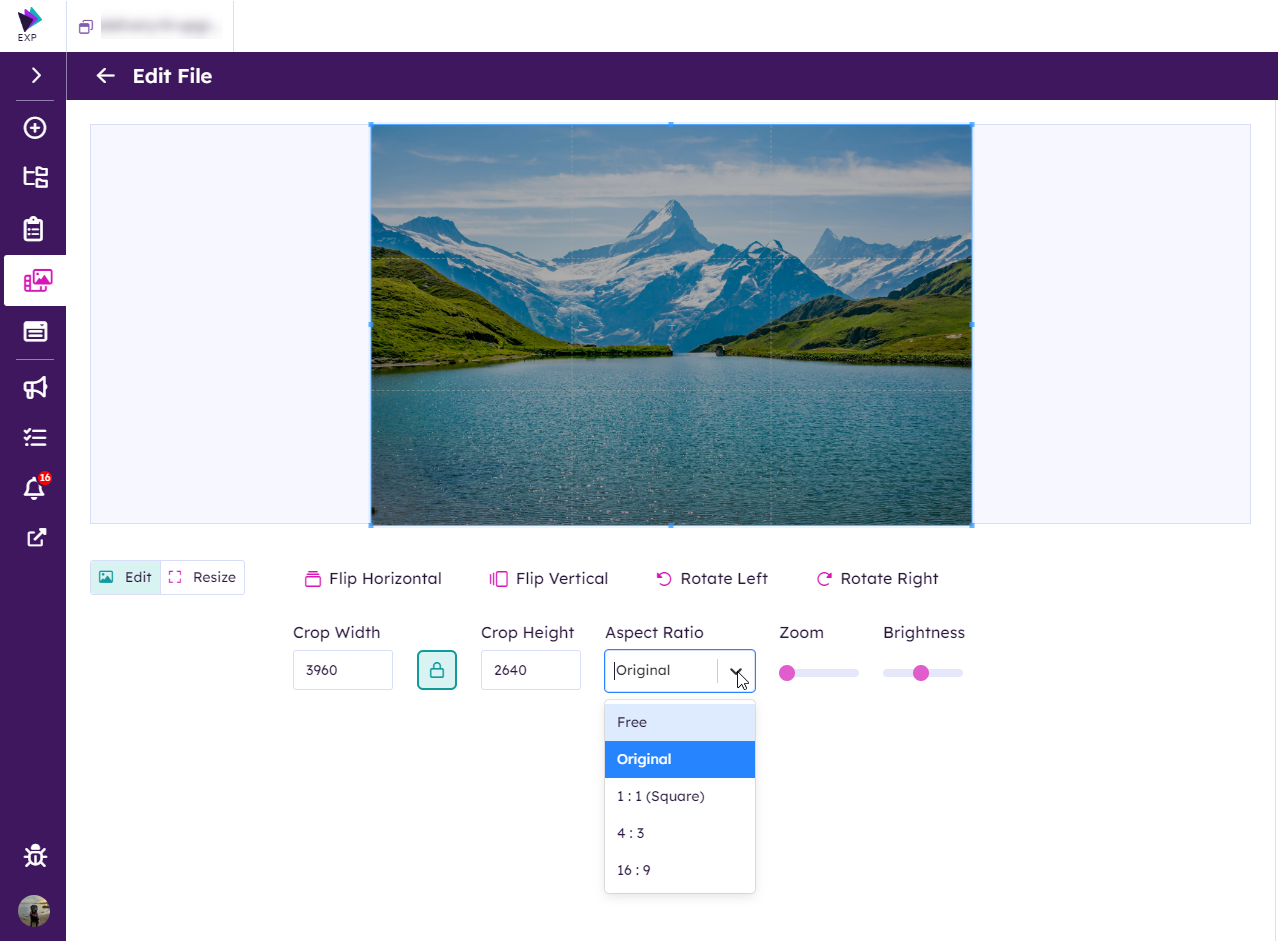
Edit
Clicking on Edit will open a screen to edit the field property values for the selected content app. The fields that display are derived from the content app type and list associated with the content.
For Images content apps, the screen will also provide the ability to change the dimensions (resize, zoom, crop width/height, select or lock aspect ratio), brightness (light/dark), and orientation of the image (flip horizontal/vertical, rotate left/right).
A message modal will pop-up to confirm the publish action.
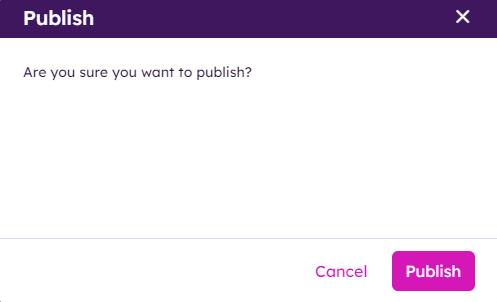
After all edits are complete, click Publish to save and publish the changes.
Delete
Clicking on Delete will delete the selected content after you click delete on the message modal.
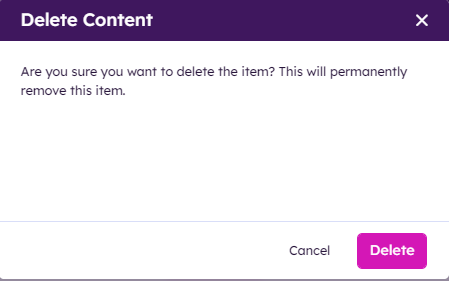
Note – The selected content will be permanently deleted.
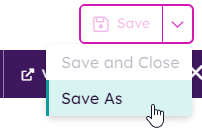
Save As
Clicking Save As will allow the user to save a copy of the file.