Akumina Forms and Multilingual
Akumina Forms provides the ability to create the Forms and Surveys that you want to have inside of an intranet. Whether it be a simple touchback with your employees, or a site wide questionnaire, Akumina Forms will allow you to easily create and manage that output. And with the Multilingual feature attached to it, you can easily create dual forms that are deployed on different language versions of your site.
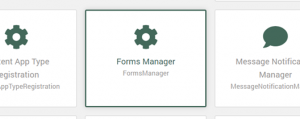
Forms Manager Management App
Forms Manager management app is where the Form Creation process occurs. There, you can depict exactly what you want your Form to be.
- Navigate to the Akumina site where you want to implement a form
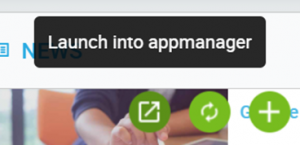
- Click on the Akumina Tray at the bottom of the page

- Click on the AppManager icon on the far left
- Navigate to the Management Apps
- Then click on the Forms Manager
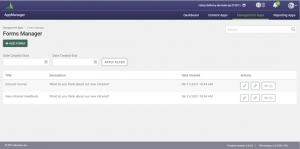
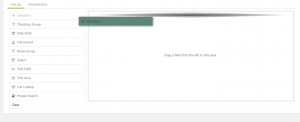
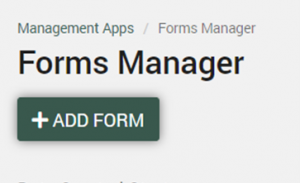
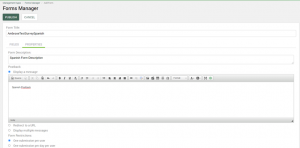
- You will be directed to the Forms Manager Management app:
Create a New Form
- Click on Add Form
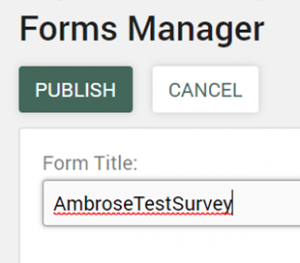
- This will display the forms template to create a new form:
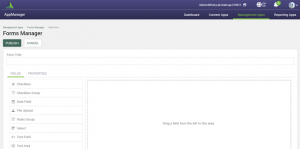
- Add a form title name for the new form
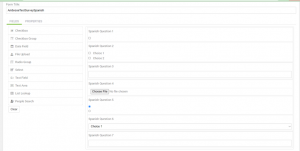
Adding Fields
Fields are what make the creation of Forms so easy. All you have to do is drag and drop your preferred fields, add in field details, and you have a completed Form for anyone in the company to take.
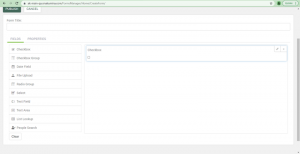
- Drag and Drop a field from the Fields tab into the Square Box on the right
- Here is what it will look like once dropped into place:
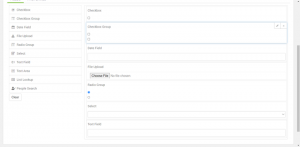
- We will place in a couple of fields and go over them:
The Checkbox Field
The checkbox field allows you to create a simple yes or no question for the Form taker to click on.
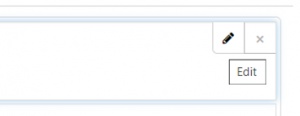
- Click on the Edit button in the top right corner of the box

- Here’s what the Edit Field will look like:
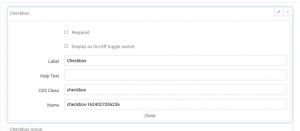
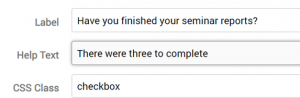
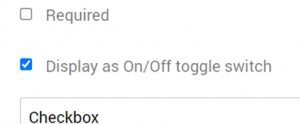
- Add in a Name or a Question in the Label Text Box

- You can also add in Help Text into the Help Text Text Box
- Here’s what it looks like in action:
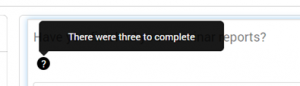
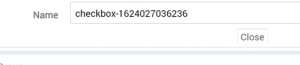
- Click on the Close button
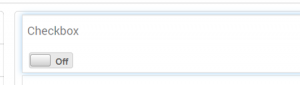
- Here’s how the checkbox field form will be displayed

- You can also have an on and off toggle for the Checkbox field if that is more applicable to your situation
The Required Toggle
For multiple fields, the “required” option can be turned on so that if a form is ever taken, that selected field must be filled out in order to submit it.
- In order to use it, just click on the checkbox next to the “required” text

- Here’s what it will look like in action:
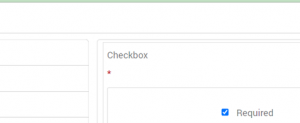
As you can see, a red * asterisk will indicate that this particular field is required to send in the form.
The Checkbox Group Field
The Checkbox Group Field is similar to the previous Checkbox Field, but now you can have multiple options for a Form taker to click on.
- Click on the Edit button in the top right corner of the field box
- Here’s what the Edit Field will look like:
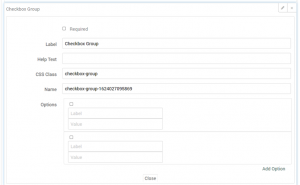
- Add in a Name or a Question in the Label Text Box

- Type in what you want the Label and Value of the responses to be, and if you want to add more, then click “Add Option”
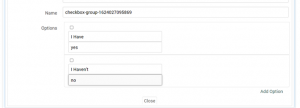
- Click on the Close button
- Here’s what it will look like after:

The Date Field
The Date field lets a Form taker choose a date to send into the Form deployer.
- Click on the Edit button in the top right corner of the field box

- Here’s what the Edit Field will look like:
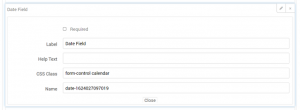
- Add in a Name or a Question in the Label Text Box

- You can also add in Help Text if you would like:

- Click on the Close button

- Here’s what it will look like after:

The File Upload Field
The File Upload Field lets the Form taker upload any file that the Form deployer might ask for.
- Click on the Edit button in the top right corner of the field box

- Here’s what the Edit Field will look like:
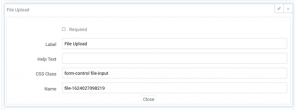
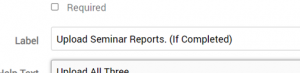
- Add in a Name or a Question in the Label Text Box
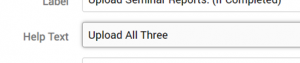
- You can also add in Help Text if you would like:
- Click on the Close button
- Here’s what it will look like after:

The Radio Group Field
The Radio Group Field is very similar to the Checkbox Group Field, except now only one choice can be selected out of all of the options.
- Click on the Edit button in the top right corner of the field box

- Here’s what the Edit Field will look like:
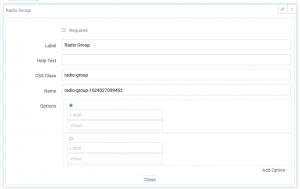
- Add in a Name or a Question in the Label Text Box

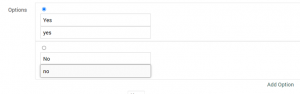
- Type in what you want the Label and Value of the responses to be, and if you want to add more, then click “Add Option”
- Click on the Close button

- Here’s what it will look like after:

The Select Field
The Select Field is similar to the Radio Group Field, but makes a drop down selection instead.
- Click on the Edit button in the top right corner of the field box

- Here’s what the Edit Field will look like:
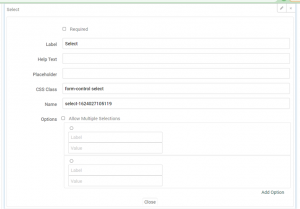
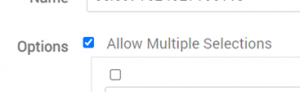
- Add in a Name or a Question in the Label Text Box

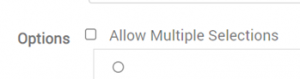
- Click on the “Allow Multiple Selections” Checkbox if you’d like multiple choices for the field:
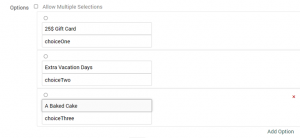
- Type in what you want the Label and Value of the responses to be, and if you want to add more, then click “Add Option”
- Click on the Close button

- Here’s what it will look like after:

The Text Field
The Text Field allows a Form taker to type out a response for the Form they are taking.
- Click on the Edit button in the top right corner of the field box

- Here’s what the Edit Field will look like:
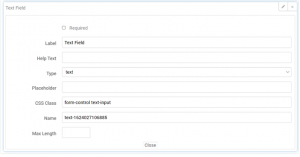
- Add in a Name or a Question in the Label Text Box

- You can also add in Help Text if you would like:

- Select text or email for the type of input the field will be expecting

- You can also add in a Max Length, which puts a limit to how long the response to the form will be:

- Click on the Close button

- Here’s what it will look like after:

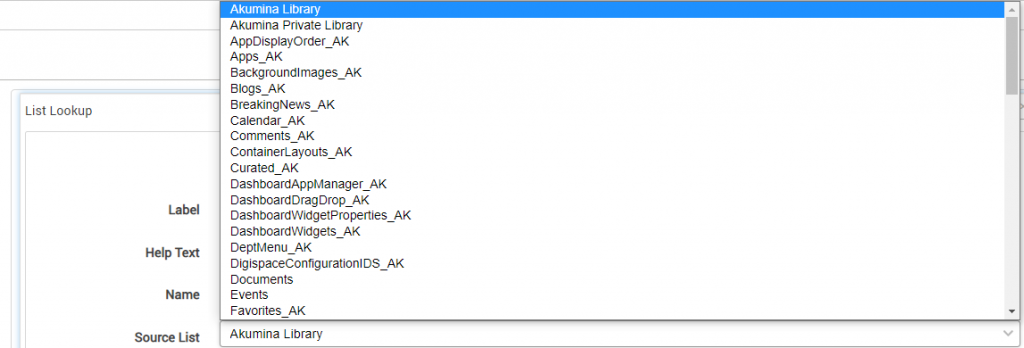
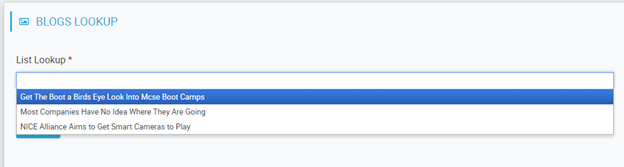
List Lookup Field
The List Lookup allows a Form taker to look up an item by a type. For example, look for a Blogs News by Title.
-
- Click on the Edit button in the top right corner of the field box
- Here’s what the Edit Field will look like:
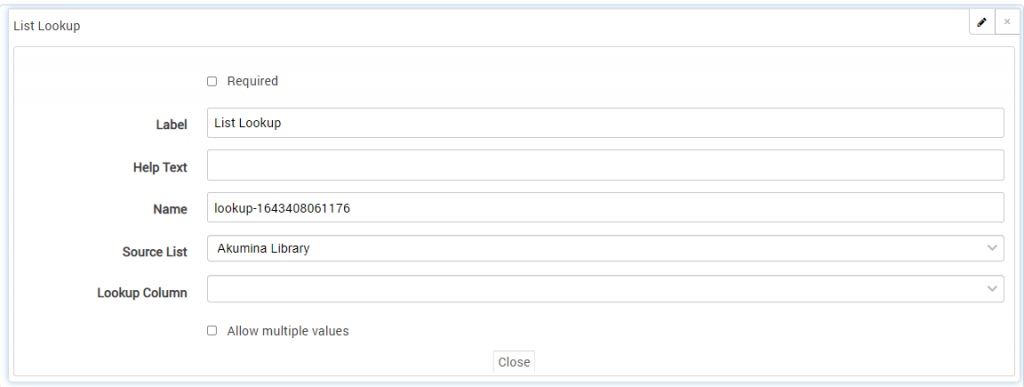
- Add in a Name of the form in the Label Text Box

- You can also add in Help Text if you would like.
- Select the Source List from the drop down of available lists
- Select the column to be used for searching the list. For multiple columns to be used, check allow multiple values.

- Click on the Close button
- Here’s what it will look like after:
- Click on the Edit button in the top right corner of the field box
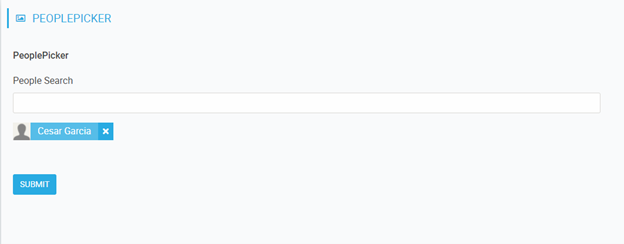
People Search Field
The People Search Field allows a Form taker to type out a response for the Form they are taking.
-
- Click on the Edit button in the top right corner of the field box
- Here’s what the Edit Field will look like:
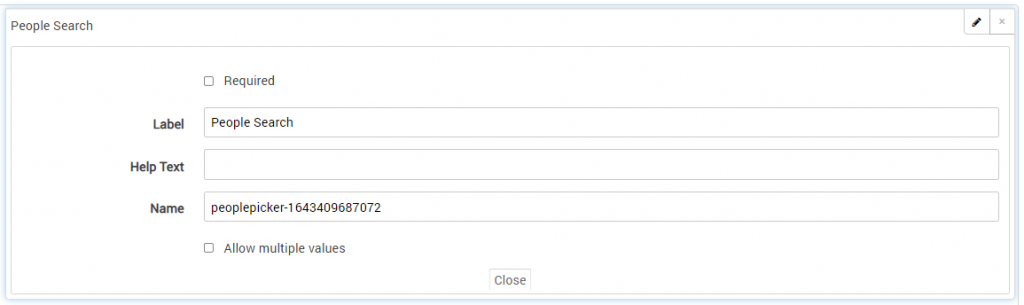
- Check if this is a required field
- Add in a Name of the form in the Label Text Box

- Add in optional help text
- Click on Allow multiple values if the form allows more than one name to be selected
- Click on the Close button
- Here’s what it will look like after:
- Click on the Edit button in the top right corner of the field box
Forms Manager Properties
Here you can manage multiple properties for the Form that you would like to deploy.
- Click on the Properties Tab next to the Fields Tab
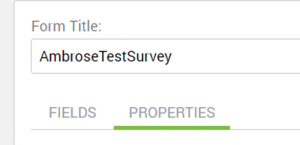
- Here is what the page will look like:
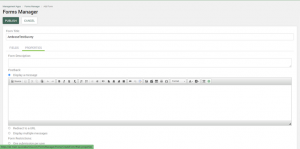
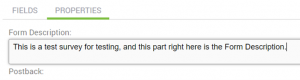
- Add in a Form Description if you so desire
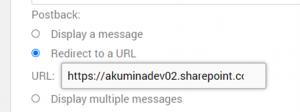
Postback
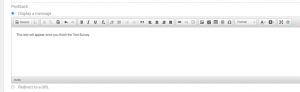
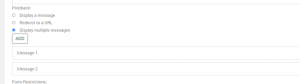
There are a few options for postback, which is basically the actions taken after a form is completed. You can either Display a Message, Redirect to a URL, or Display Multiple messages.
- Display a Message:
- Redirect to a URL:
- Display Multiple Messages:
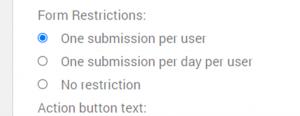
Form Restrictions
You can also set certain Form Restrictions for a form, such as One Submission Per User, One Submission Per User Per Day, or No restrictions at all.
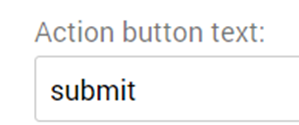
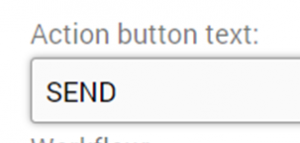
Action Button Text
The Action Button Text Option will allow you to change what the Action Button at the end of a form will look like.
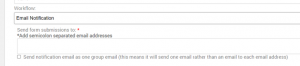
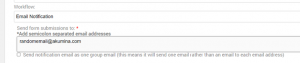
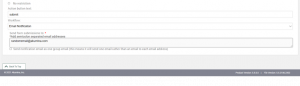
Workflow
The Workflow option lets you send form submissions to multiple emails once a form is completed.

- Once Email Notification is selected, you can add in different emails for the for submissions to be sent to:
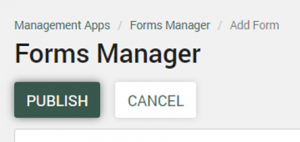
- Once done with everything, click on the publish button:
Testing The Form
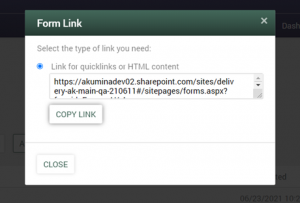
- Click the Get Form Link Button

- Copy the link given
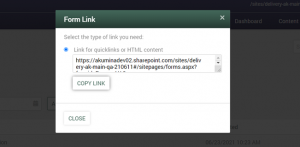
- Paste the link in a URL field in the search bar
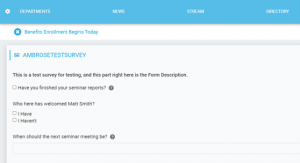
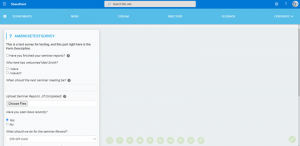
- The link will take you to something like this:
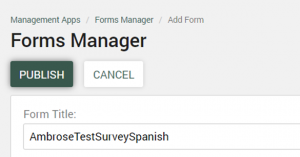
Creating The Same Form in a Different Language
Here is where we start to get into the Multilingual side of Akumina Forms and branch into different language versions of a single form. (Also Note that you will need to have multiple languages available for you to use multilingual functions. To see if you have multilingual activated, go to your AppManager settings > License > Globalization and Localization to determine the setting of the multilingual function.)
- Click on Add Form
- Create the previous form, but in the preferred different language
- Publish the From
Saving The Form URLs
Saving the Links of forms will be useful for multiple reasons. If you need to send the URL to someone else in the company, implement it in another widget and/or if you want to test out the Form yourself.
- Click on the Get Form Link Button for both the English and Other Language Version of your form, and then save the links in something like notepad
- English:


- Spanish:

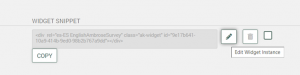
Creating Form Widget Instances
Creating separate widget instances for a form you created is what’s going to help you implement different language versions of your form. In this case, two Form widget instances will be created from the forms that were just made, and then linked together through different versions.
- Make sure you are in the Management Apps Tab, and then click on Widget Manager
- You will be taken to a page like this:
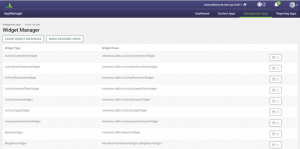
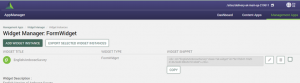
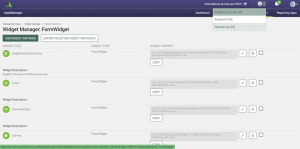
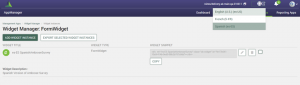
- Scroll down until you get to the FormWidget, and then click on the View Widget Instances Button

- You will then be taken to a page like this:
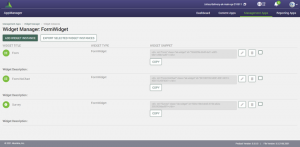
- Make sure you are in the English Version of the AppManager:
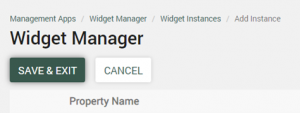
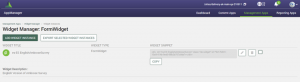
- Click on the Add Widget Instance Button

- You will now be on a page like this:
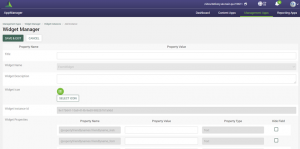
- Add in a Title

- Put in a Widget Description

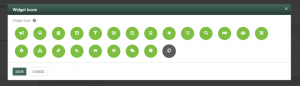
- Select a Widget Icon
- Add in the English Version of the Form’s “Form ID” into the instruction set widget property. This ID can be found at the end of the Form URL


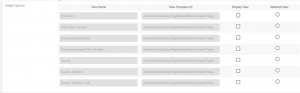
- Select a View Template in the Widget Options

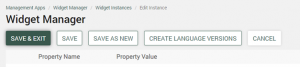
- Scroll back up to the top and then click Save and Exit
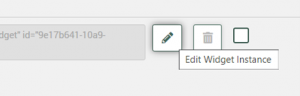
- You will now see your widget instance on this screen:
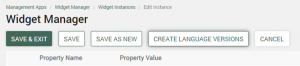
- Click on the Edit Widget Instance Button for your newly created Instance
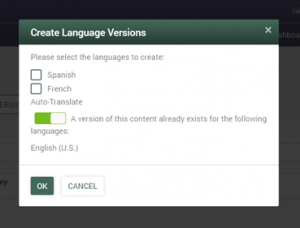
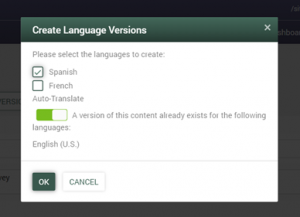
- Now click on Create Language Versions
- Click on the Language you would like to use, make sure the toggle for the Content already exists is checked on, and the click OK
- Once back to this page, change the Language for the AppManager to whatever language you are using for your Multilingual Form
- You will see your Other Language Widget Instance on the screen now:
- Go in and edit the Widget Instance
- From here, you can change any of the Widget Properties to fit the language if you so desire:
- You do however want to change the instruction set Property Value to whatever your other language Form’s “Form ID” is

- Also, make sure a View Template is Selected in the Widget Options

- Scroll up and then click Save and Exit
- Make sure you go back to the English Version of the AppManager
If you want to find more information on the Widget Manager click here.
Implementing The Form Widget
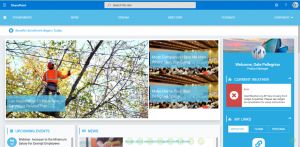
- Navigate to the Akumina front-end site
To Implement the Form Widget, we are going to create a new page to house it on. You can also add the form widget to an existing page.
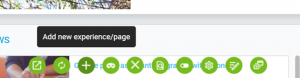
- Navigate to the Akumina Tray at the bottom of the page, and then click on Add new experience/page
- It will bring you here:
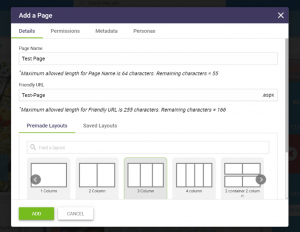
- Once you put in a Page Name, and Layout for your new page, you can click Add

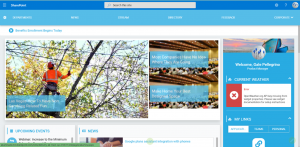
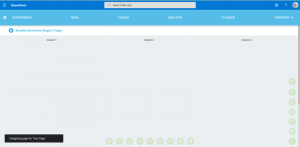
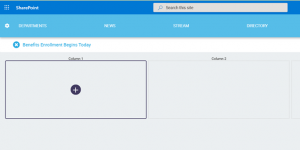
- And now you will be on a new page:
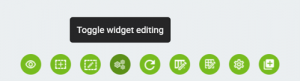
- Navigate to the Akumina Tray again and click on the Toggle Widget Editing one
- From here, go ahead and add in a widget in the first column
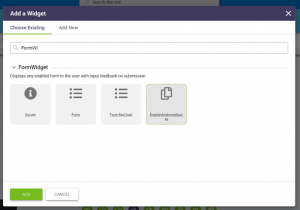
- Search for the FormWidget

- Now select your English Survey, and then click Add
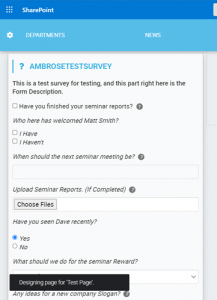
- Here is what it will look like:
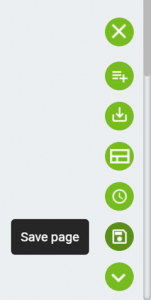
- Save the Page
- Here is what it will look like after:
If you want to find more information on the Experience Builder click here.
Submitting A Form
In order to see data on a specific form, you first need to have some form submissions to look at. This section goes over how to send in a form, as well as what you should expect to see with form submissions.
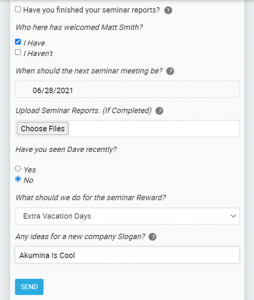
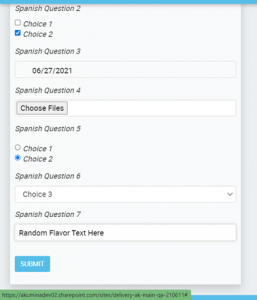
- Fill out all of the info and then hit SEND
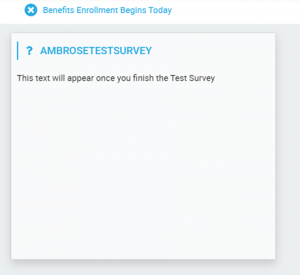
- Make sure you get your post back:
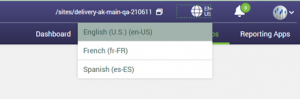
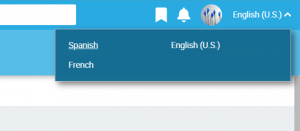
- Change the Language to your other form’s language
- Note: There are two header bars, the Sharepoint one, and the Akumina one. If you are on the Sharepoint header bar, just click the cog on the upper left side of the screen to switch them out:
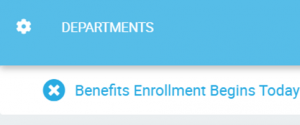
- You will now see the other Language Form on the page as well:
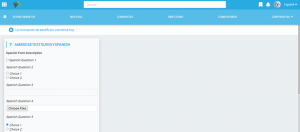
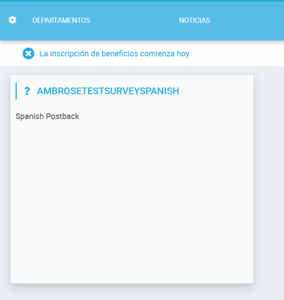
- Complete this form as well to make sure everything works
- Here is the post back:
View The Submissions
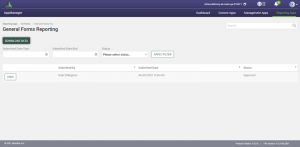
The whole point of setting up and sending out a form is to see what you get back in return. The General Forms Reporting App will help you view your forms in a neat and user friendly format.
- Once in the AppManager, navigate to the Reporting Apps tab

- Click on General Forms Reporting
- You will be taken to this page:
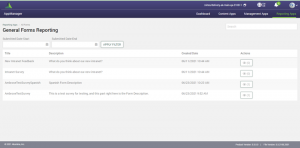
- Navigate to your survey and click on view submissions

- You will be taken to here:
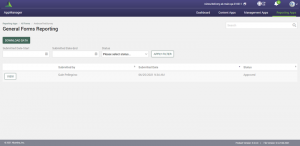
- Click on the VIEW button to see what the submission looks like

- Here’s what a submission looks like:
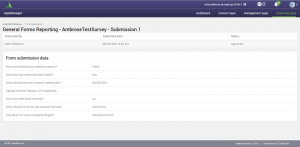
- If you go back to the previous page, you can also choose to the form data through the DOWNLOAD DATA button: