An authorized user can create a new saved layout from an existing page or provision a new page using a saved layout. A saved layout defines the widgets, rows and columns placement of the page layout and can include widget definition restrictions for the page. For setup details on saved layouts, please reference Experience Builder – Creating a saved layout.
With the advanced saved layout features introduced in version 5.0, the authorized user has the ability to create global custom page templates including widgets, and the option to create a page layout icon of the page for easy reference.
Creating a Saved Layout
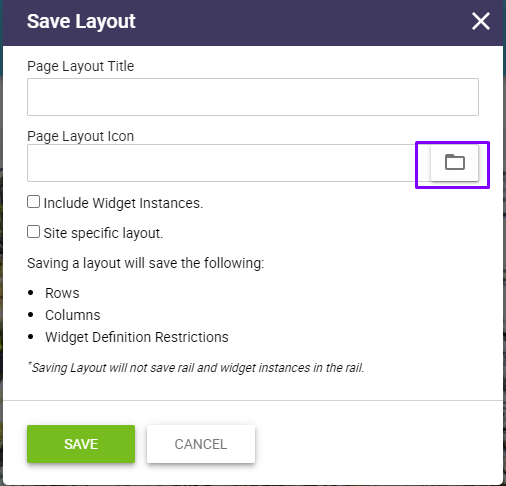
In page edit mode, select the Save layout icon from the right-hand tray. Enter a page layout title, select a page layout icon, select if the save layout should include widget instances and/or if the save layout is a site-specific layout and click save.
![]()
Page Layout Icon
Click on the page layout icon picker to select a layout icon image.
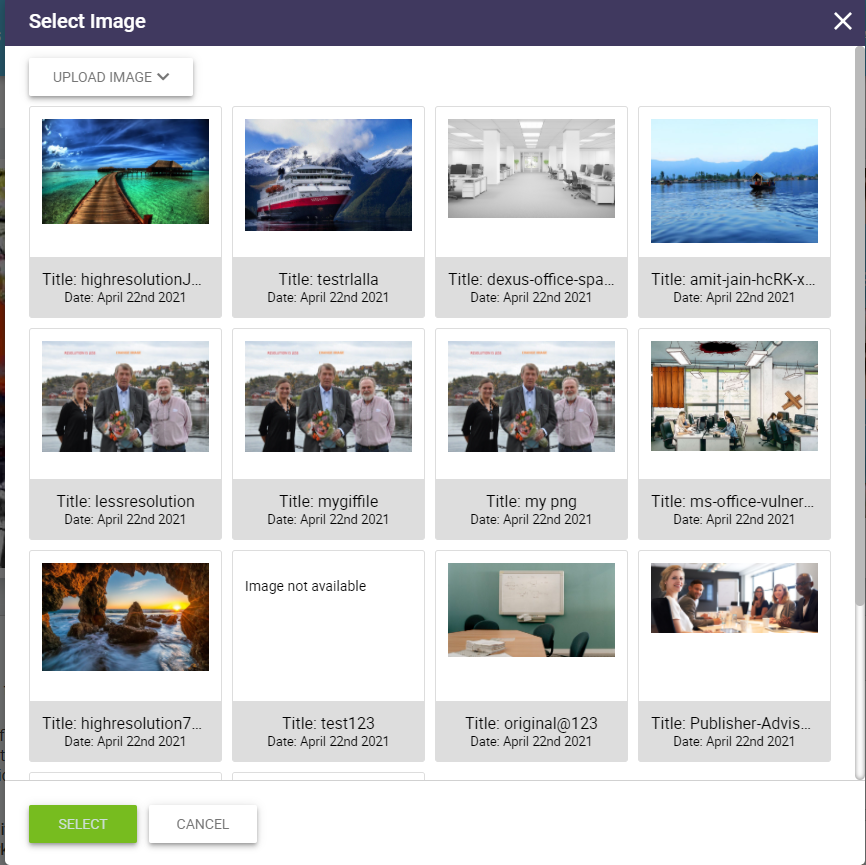
The Select Image popup will display to select an existing image or upload a new image.
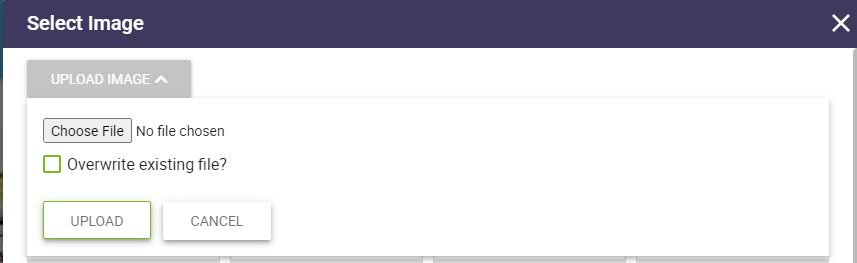
Upload an Icon Image
To upload a new icon image, click on upload image, chose a file to be uploaded and click upload. A screenshot can be saved of the page layout to be used as the page icon image.
To replace an existing image with a new image having the same name, chose a file to be uploaded, click on overwrite existing file and click upload.
New image files will be appended to the end of the select image list.
Select an image and click the select button. The save layout popup will display to review the chosen selections.

Click save and a page layout saved message will be displayed.
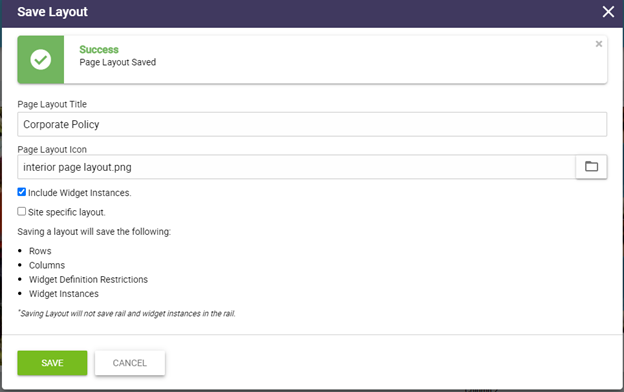
In the above example, the Corporate Policy saved layout will include rows, columns, widget definition restrictions and widget instances with a saved page icon.
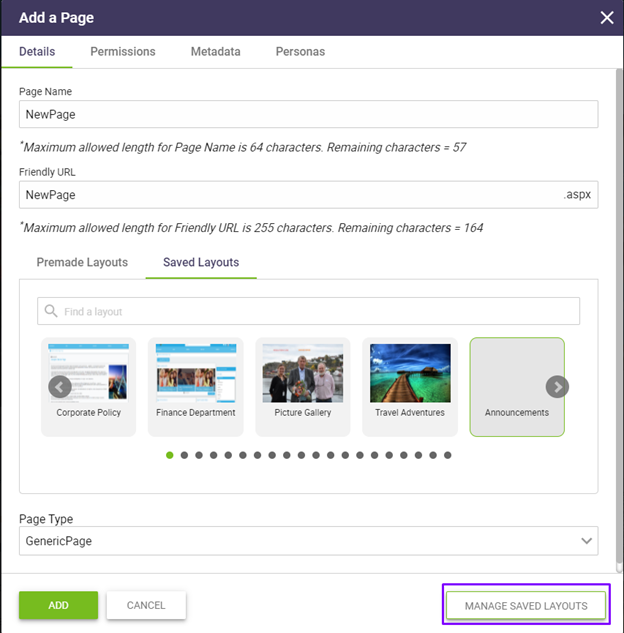
For future new page provisioning, the Corporate Policy saved layout is available for selection in the Details tab of the Experience Builder as shown below.
![]()
Include Widget Instances
When the “Include Widget Instances” is checked, the saved layout will be saved with the widget instances on the page.
Site Specific Layout
When the “Site Specific Layout” is checked, the saved layout will be saved with the specific site id value of the current site. The site id column will be populated in SaveLayout_AK to restrict the use of the layout for the specific site referenced in SaveLayout_AK.
Manage Saved Layouts
The Manage Saved Layouts button is displayed to authorized users in the Details tab of the Experience Builder Add a Page as shown below.
Restricting access to Manage Saved Layouts
Authorized users can set permissions to restrict the access to Manage Saved Layouts button using the “accessmanagelayout” tray widget property. From AppManager>Widget Manager, click on the tray widget instance to set the accessmanagelayout property. Using the group selector, specify which group(s) are allowed to see this function, which enables the display of the Manage Saved Layout button to the front-end site.
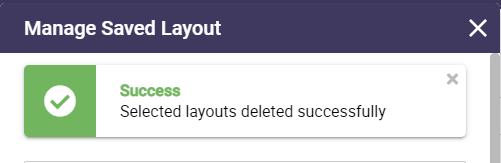
Deleting a Manage Saved Layout
Clicking on the Manage Saved Layouts button will provide a list of available saved layouts. Using the search will narrow the list to select the items to be deleted from the manage saved layout view.
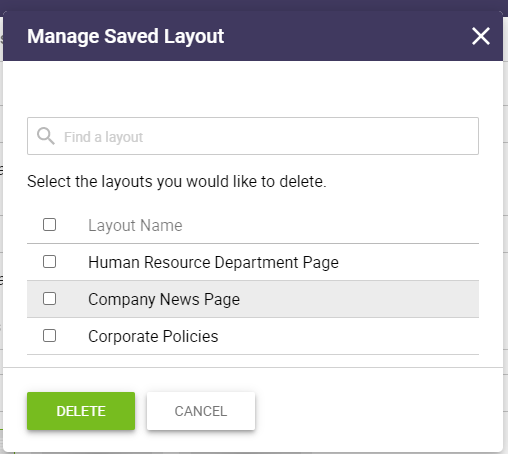
Clicking delete will remove the manage saved layouts and a message will be displayed.