Working with Persona Builder
As part of 4.5 release, Akumina has introduced Persona Builder, a powerful new tool that provides the ability to personalize content to targeted employees. Content authors can customize the messaging content based on the persona; providing a filtering ability to create a relationship between content and employee groups. And by abstracting content tagging directly to employee attributes, authors have the ability to tag content with personas when the persona, itself, can bucket employees based on their numerous attributes.
To launch Persona Builder, log in to Management Apps within AppManager and select the “Persona Builder” icon.

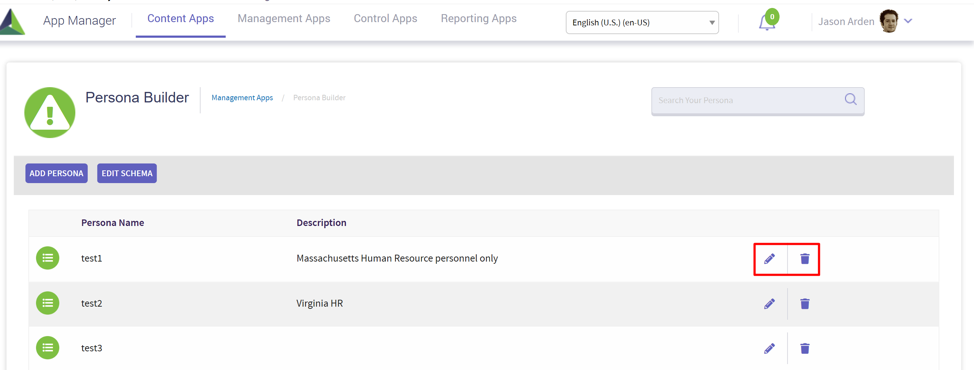
Clicking on the Persona Builder icon opens the screen with the list of available personas and the ability to add, edit or delete a persona. Edit schema is available for IT personnel to enable which fields and field value types are available to be used with the Persona Builder tool.

Clicking on the add persona button ![]() opens a new persona dialogue box to define the persona.
opens a new persona dialogue box to define the persona.
|
Field |
Details |
|---|---|
|
Persona Name |
The name of new persona |
|
Description |
Details of the persona to explain groups and users included. |
|
Persona User Group |
Defines who has permission to utilize the persona within content or pages. For example, not everyone can tag content to the VP-level persona. |
|
Persona Icon |
Select an icon to be associated with the persona. |
|
+Add Filter |
Defines the persona filter criteria based on the user fields and values selected. User fields and values are IT configured from a subset of the Azure directory or other available third party directories. |
Click the ![]() button and the new persona will be added to the Persona Builder screen.
button and the new persona will be added to the Persona Builder screen.
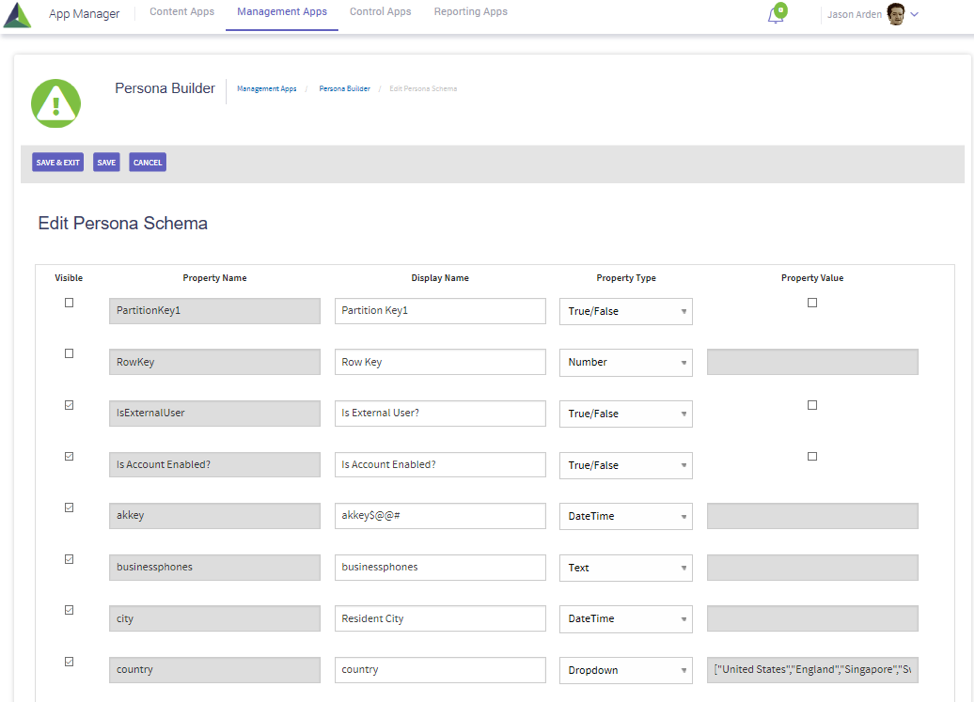
Clicking on the ![]() button, opens a new dialogue box to edit persona schema. This allows the user fields values to be easily modified for building the filter process for the persona.
button, opens a new dialogue box to edit persona schema. This allows the user fields values to be easily modified for building the filter process for the persona.
|
Field |
Details |
|---|---|
|
Visible |
Visible checkbox determines if the user field will be in the persona schema view. All fields with a checkmark will be visible by default. |
|
Property Name |
Field name as defined in Azure AD or other available third party directories. |
|
Display Name |
User defined field name which will display in the persona criteria. Display name will default to property name. |
|
Property Type |
User field property type defines the presentation of the data as either a number, text, datetime, true/false, or dropdown selection. |
|
Property Value |
Property values are IT configured from a subset of the Azure directory or other available third party directories. |
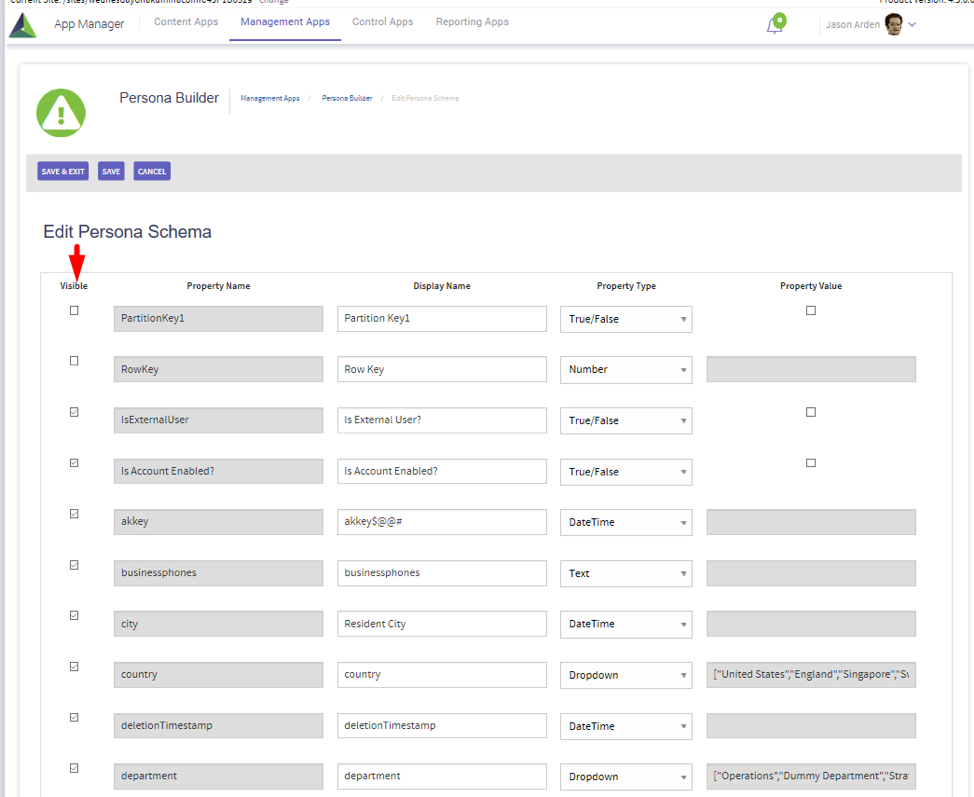
Clicking off the visible checkbox, will remove the User Fields from persona schema view. All fields with a checkmark will be visible by default.
As shown in the example below, the field property type for country can be changed from a text field to a dropdown field and the valid values will be populated. The persona filter criteria can choose from the valid values in the list, for example, “United States” for the country instead of “USA,” and will not allow text field entry for country.
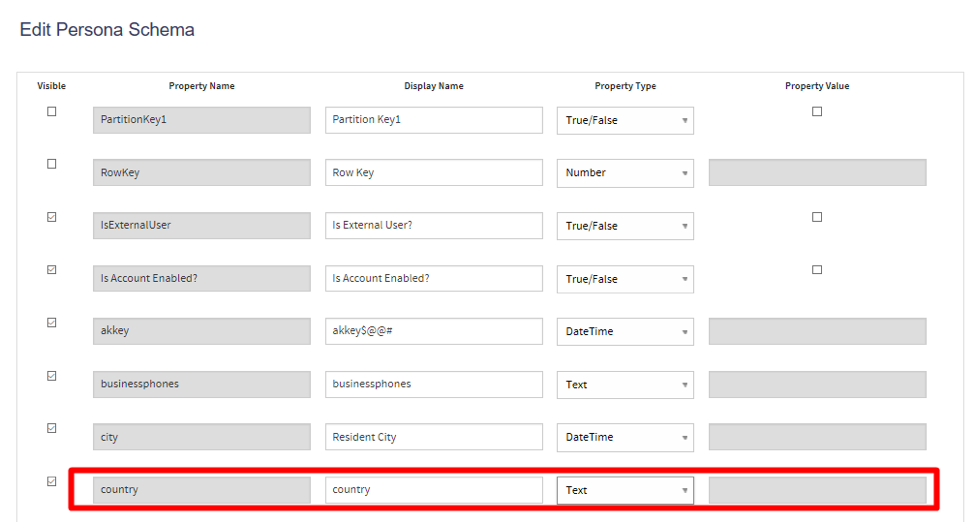
Field value property types can be changed by selecting a new property type from the list:

Updated schema displaying dropdown property types and valid values:

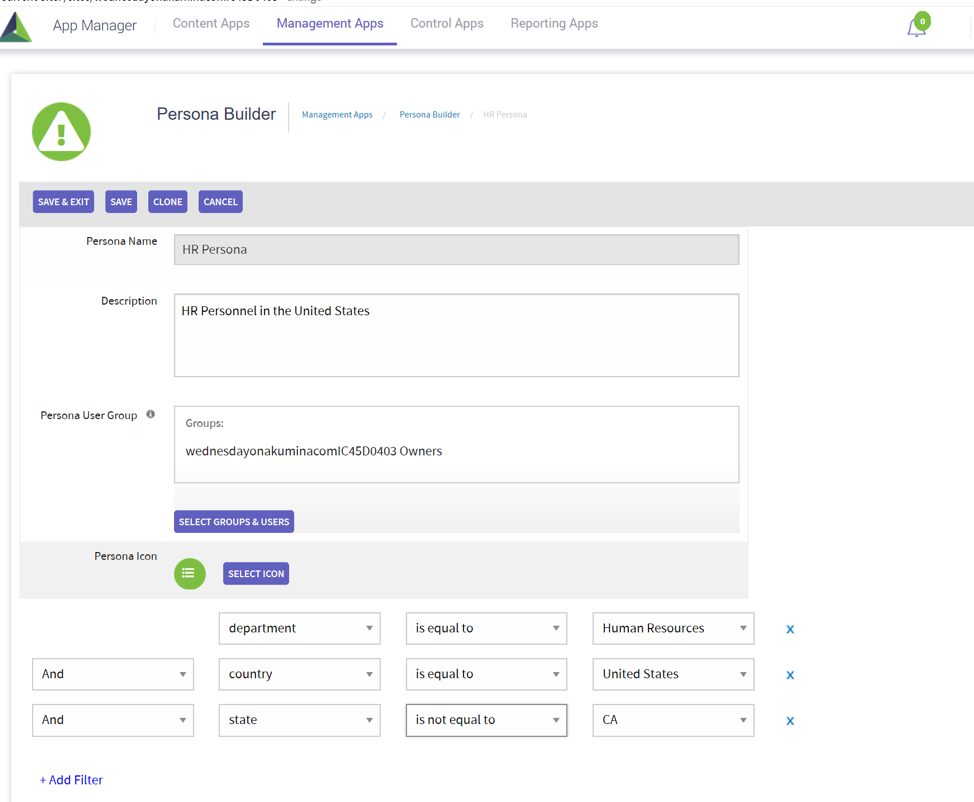
The Add Filter is a powerful tool providing the ability to create the persona filter criteria based on user fields and values in the Persona Schema. In the below example, a new persona is created for HR personnel in the United States except for the state of California.
From the Persona Builder screen, an authorized user can also edit or delete a persona.
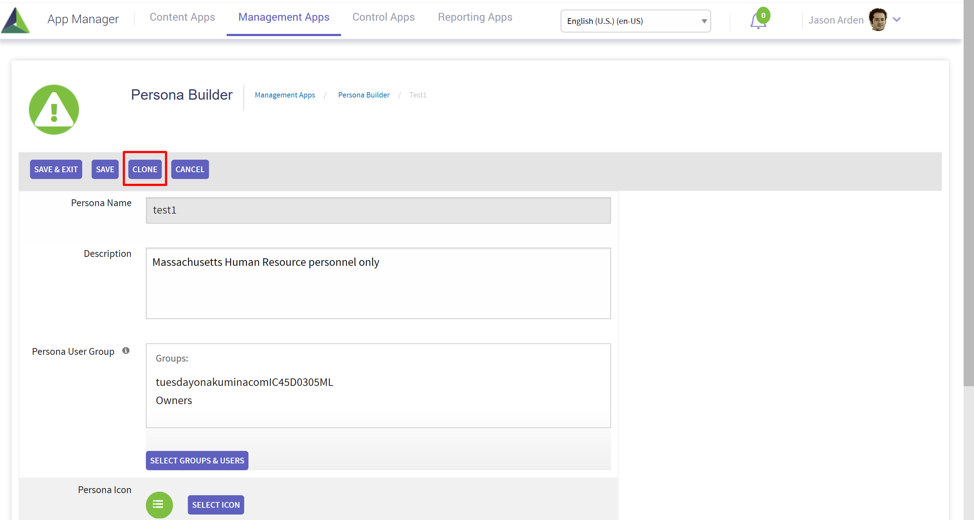
Within the persona edit mode, click on the clone button to create a copy of the persona, and add a new Persona name. The new persona will be available immediately in the persona list and available for editing.
The Persona Builder allows authorized users to enable persona tagging, which filters content within Content App types.
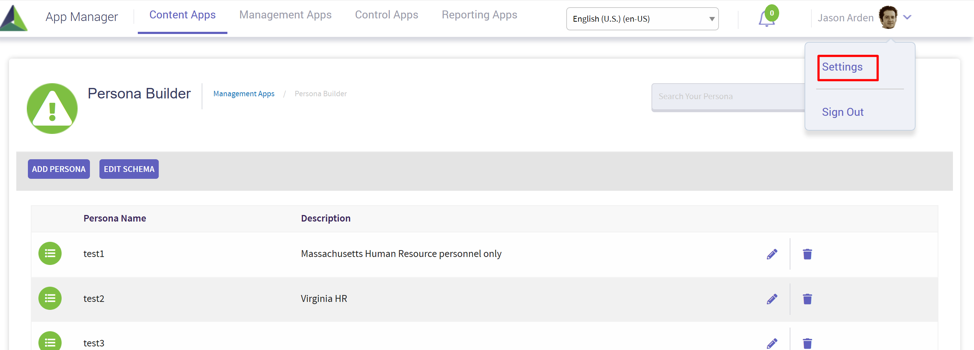
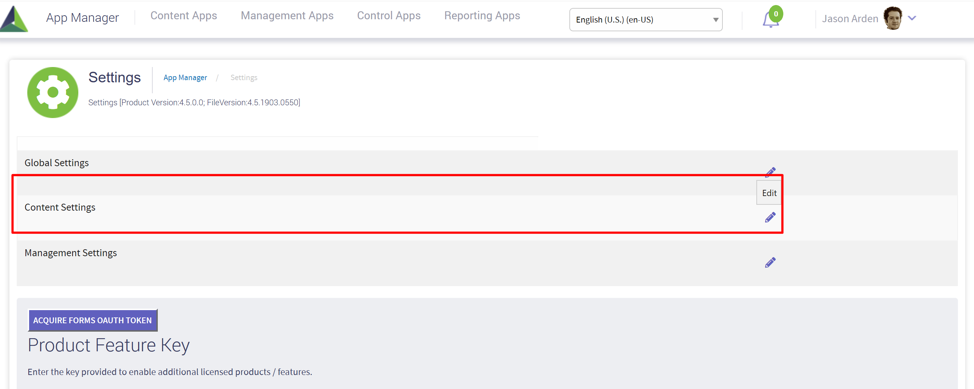
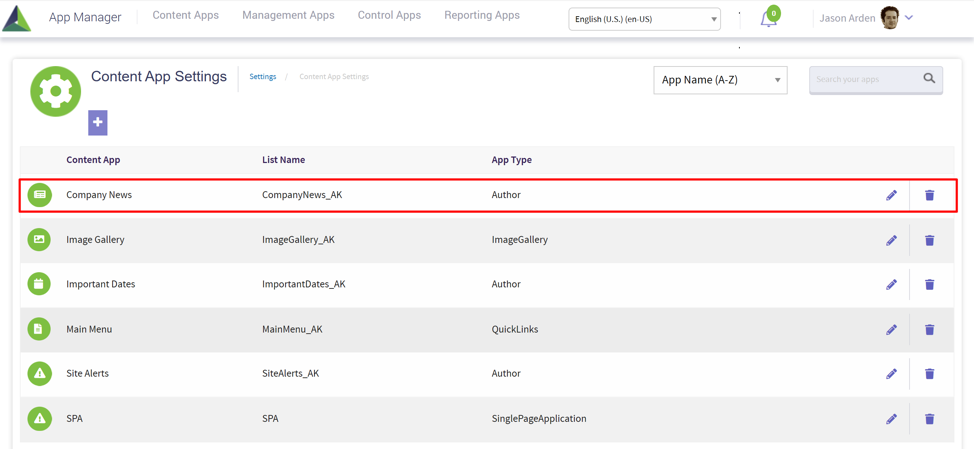
To enable persona tagging, navigate to the settings tab; then click on edit content settings.
Select to edit from the list of available Author or QuickLinks content apps displayed; or click on the ![]() to create a new Author or QuickLinks content app to enable the persona feature.
to create a new Author or QuickLinks content app to enable the persona feature.
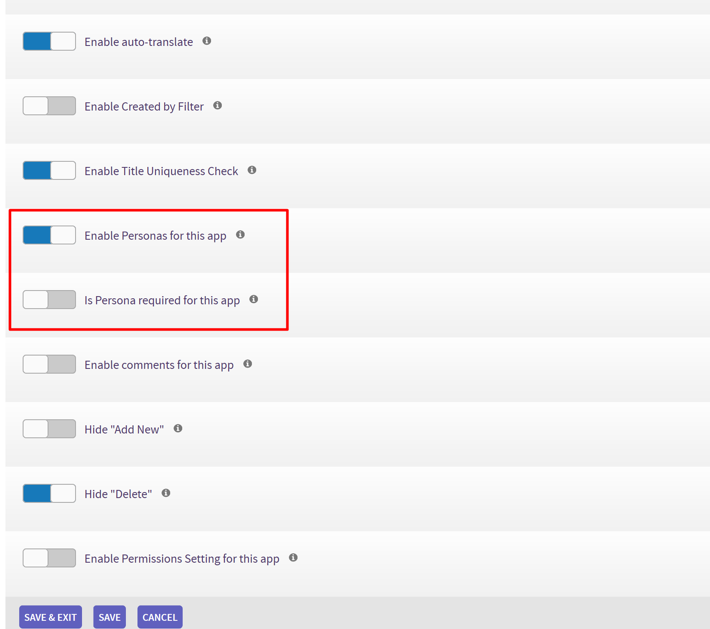
A new feature has been added within the content app settings to enable personas for this app. When personas are enabled, the content will be available for persona tagging, and a second button will display to select if personas are required when publishing this app. Personas are disabled by default.
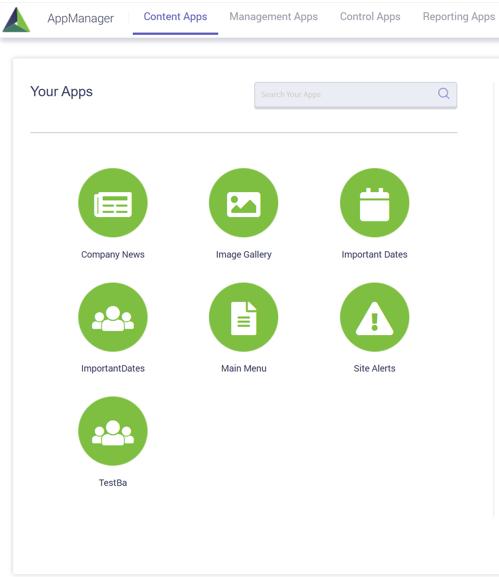
After personas are enabled on content app settings, the Content App can be selected from the Your Apps menu to tag personas.
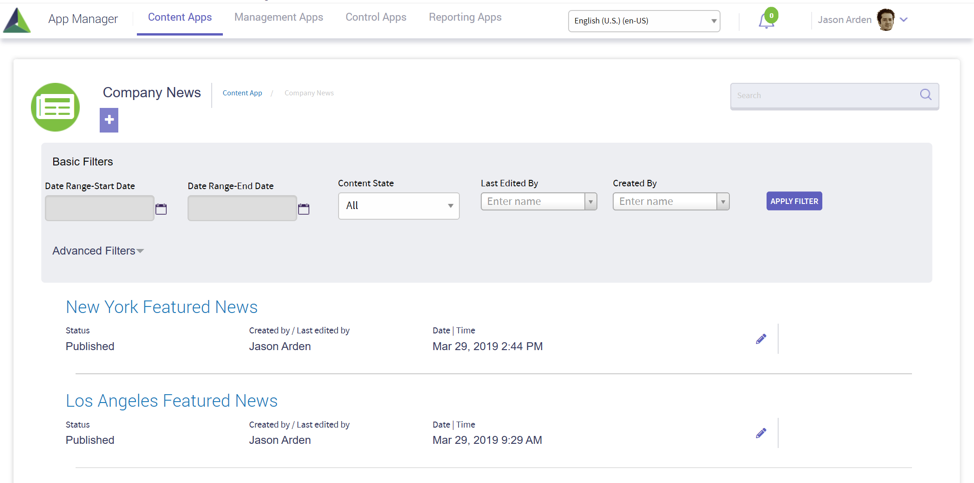
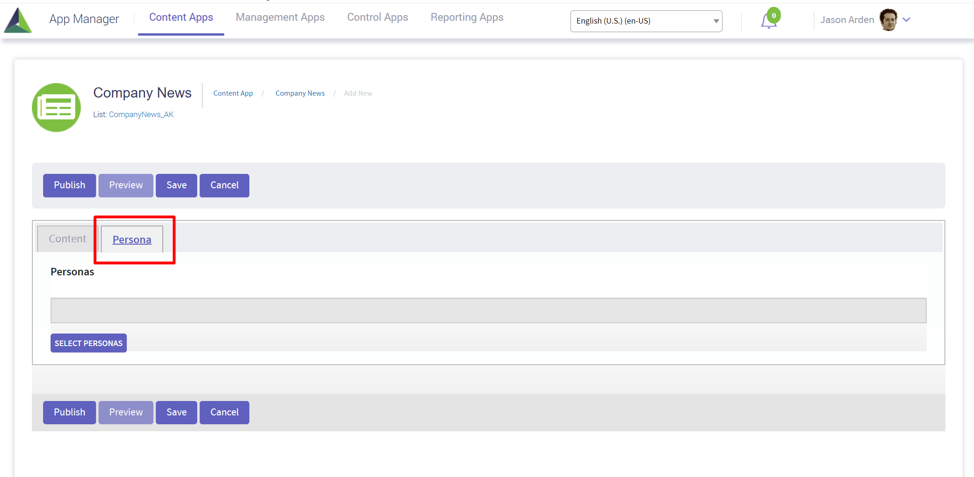
For Author content apps, in this example, Company News, specific content can be edited and tagged with a persona.
In edit mode, a new persona tab will appear to select the personas for tagging content on the page and used for filtering of content on the front end.
Now that you have tagged the pages with a persona; on the front end of the site, your employees who are not bucketed with that persona will not be shown the list of pages based on the persona.
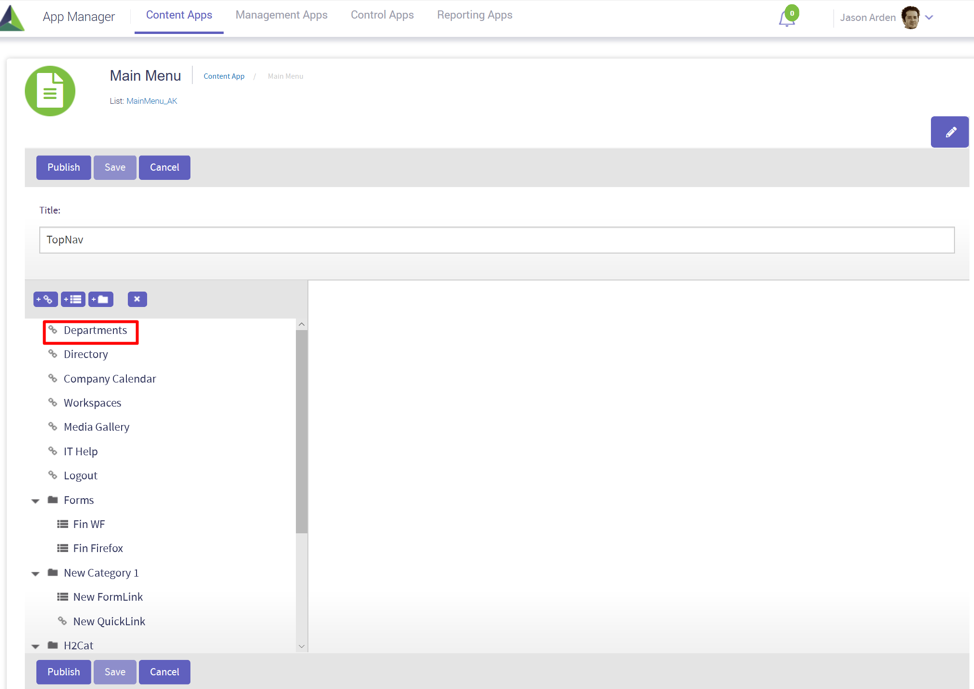
For Quicklinks content apps, click on the menu item from the list, in this example, Departments, and tag the personas to allow the menu display.
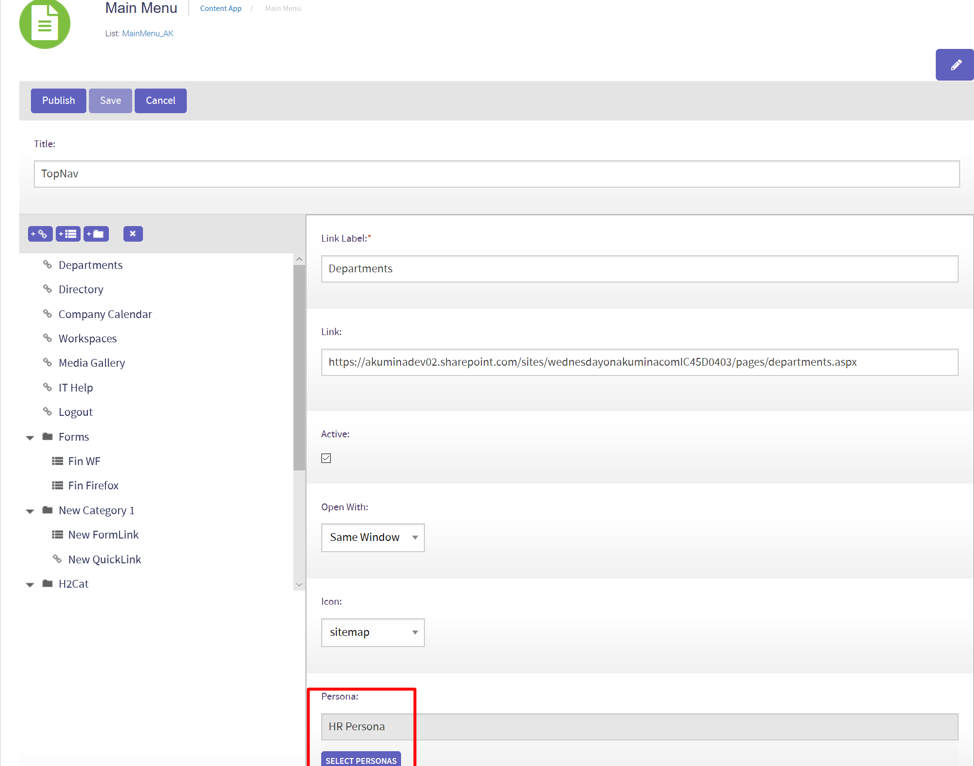
Now that you have tagged the departments menu with the “HR persona”; on the front end of the site, your employees who are not bucketed with that persona will not be shown the link to “Departments” in the menu.
The Impersonation Engine can be used to validate the personas are working as designed. Please refer to Working with Impersonation Engine section.