Working with Dynamic Pages
Most sites have several unique pages with different widgets on them (examples Landing and document … pages) but for the most part the site should have interior pages that look similar. Often times a site may have one or more dynamic pages for things like news articles or interior pages. The best approach to create consistency in page presentation is to create a “Dynamic” page template that displays items from one SharePoint list. Each item in the SharePoint list is essentially a page. The purpose of this approach is site pages with consistent layouts, organization of pages and ease of content authoring, the content author doesn’t have to create a new page, just simple add new item to a content app to create a new page.
An existing HR site may have 100s or more interior content pages, each one with their own *.aspx page. But after reviewing these 100s of pages, what is usually required is one or two dynamic pages with an appropriate data structure or content type (set of SharePoint columns) to support the detail item needed to display on the page, along with additional static widgets. Please note the associated SharePoint list to support dynamic content, will need to have a FriendlyUrl column (calculated field). In the discussion below we will use the InternalPagesWidget (click here for more information) as a reference, which has an associated content type “AkuminaInternalPage”, with a FriendlyUrl column.
Type of user who should add dynamic pages: A user in the AppManager’s “Global Settings”, “Administrator Group” (why – needed to access Settings in AppManager to add a content app)
How many dynamic pages should the site have – Organizing
Often time interior pages are organized by template and other times by subject.
- Example of organization by page template, internal page and a second template with different widgets such as the addition of a document type widget.
- Example of organization by subject, in a HR site, organize interior page subjects such as the benefit pages, retirement pages.
Adding Page templates and dynamic to the site
In this example pages will be organized by templates based upon the widgets on the page. There is a requirement to follow a pattern for interior pages across all my delivery or subsites.
Step One – Determine which widget will be used to display the dynamic content.
Akumina has several OOTB dynamic page widgets with associated content types to get you started:
- InternalPagesWidget
- BlogDetailWidget
- EventDetailWidget
- NewsDetailWidget
This example will use the InteranalPageWidget as the detail widget.
Each site will have two dynamic page templates to support my internal content
- An internal page template (inside) which consist of a dynamic body.
- The second template will include the a dynamic body with the addition of a DocumentSummaryWidget below the body (insidedocs) and right column ImportantDatesWidget.
Create the Supporting detail widget and adding the content app
In AppManager, select the “Management Apps” tab and the Widget Manager, scroll down and add a new instance of the InternalPagesWidget
![]()
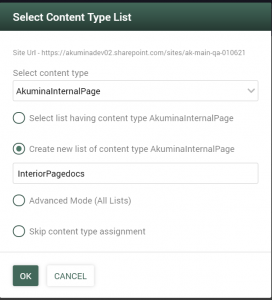
On the Widget instance Summary page select “ADD WIDGET INSTANCE”, the “Select Content Type List” modal will appear, here click on “Create new list of content type AkuminaInteriorPage” and enter a list name for the SharePoint list that will support this detail widget, example: InteriorPagedocs and then OK.
On the Widget Instance definition page, fill in Title, Widget Description, and select the view. In this example since this is 5.0, check the “Display View” and “Selected View” to use Akumina’s Social Engine reactions, “internalpagereaction” then SAVE & EXIT.
Add the Supporting Content App to the App Manager
To understand more about adding content apps in the AppManager please visit here.
In the AppManager, On the user profile dropdown, select Settings (only users in AppManager “Global Settings”, “Administrator Group” can see Settings).
- On the Settings page select “Content Settings”.
- “Select “Add New”
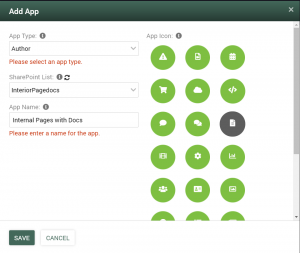
- Set App Type = Author
- Set SharePoint List = InteriorPagedocs (this is the list we created to support this detail)
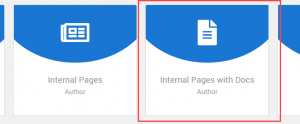
- Name the content App “Internal Pages with Docs”
- Select a App Icon and SAVE
- Set the Authorized Groups & Users – These are the SharePoint security groups that will see this app to add content.
- Set the Preview Name =insidedocPreview (or desired Name), Preview URL = https://{RootSharePointSiteURL}{{FriendlyUrl}}
Note: Above, replace {RootSharePointSiteURL} with the root of your tenant example: https://example.sharepoint.com{{FriendlyUrl}}
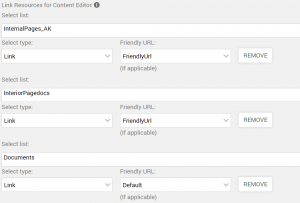
- Set “link Resources for Content Editor” In this case I want to have the friendly link picker set to InteriorPagedocs (this list itself), other page templates such as the InteriorPages_AK (this is the list supporting the other page template) and the Documents library.
- Consider creating and setting a new Image libraries for a content app, or creating folders within the library to organize the images for a Content App, creating a folder (in the document library directly) for each content app or group of pages that this image library supports.
- Hide column Seo-Description, Seo-Keywords and Seo-Title, since they are not currently used on this widget:
Save & Exit
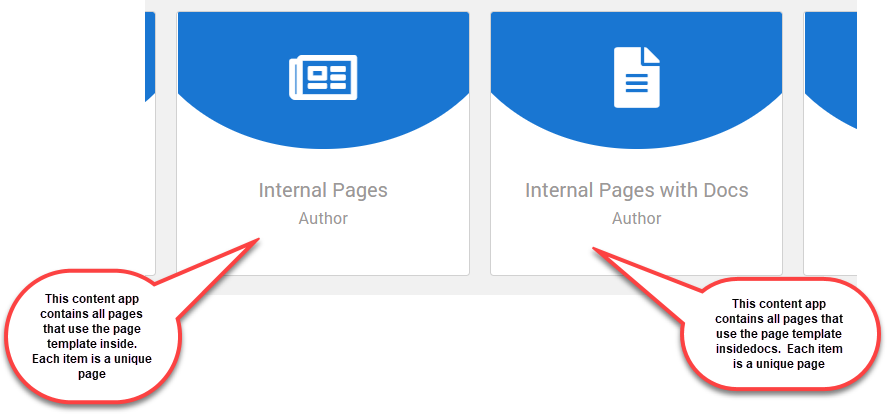
All pages using the inside template will be managed in one Content App Called “Internal Pages”. All pages using template insidedocs will be manage in a content App “Internal Pages with Docs” example:
Create the *.aspx page using Akumina’s “Experience Builder”
Visit here to understand how to create a new page builder page to create a template.
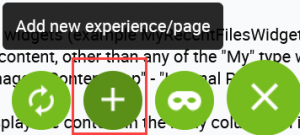
Click on the tray, and “add/new experience page”
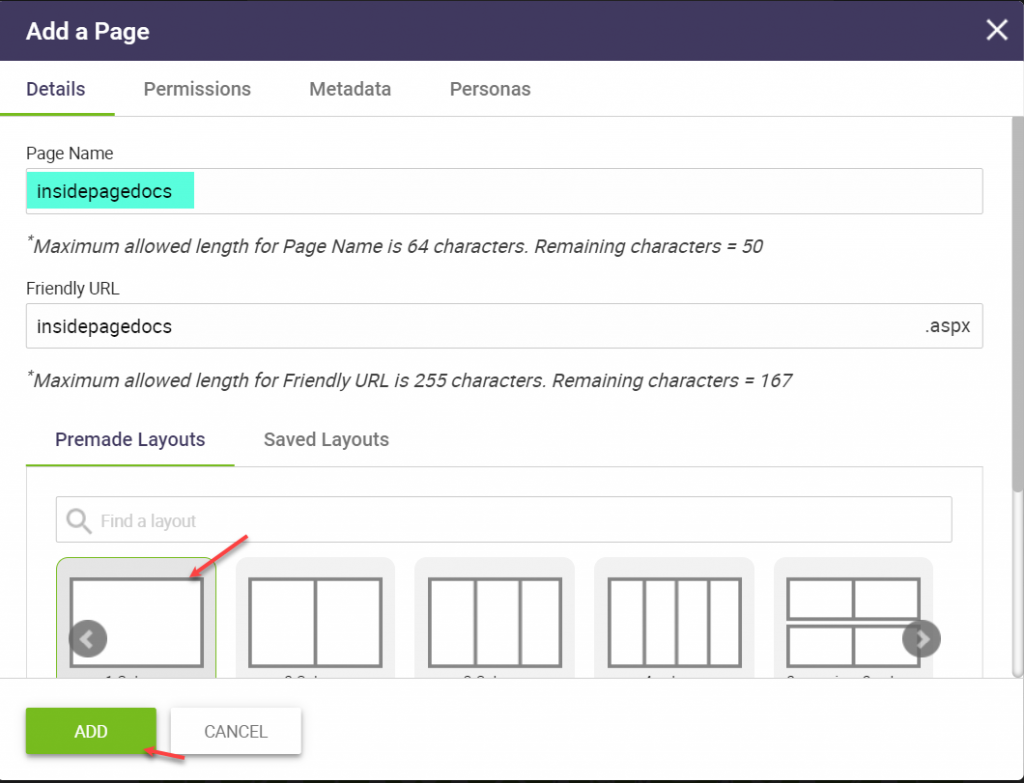
On the “Add a Page” modal enter the page name for our template in this case insidepagedocs, pick the layout to be a “1 Column” for greatest flexibility, and Add.
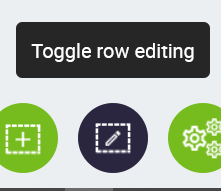
On the page you will see that we have a one column, click on “Toggle row edit” to change the one column into two
- Add to the left column the InternalPagesWidget instance “InternalPageDocs”.
- Add to the left column the Document Summary Widget
- Add to the right column the “ImportantDatesWidget”.
- Save and Exit out of Page Edit mode.
Copy the URL of this page into a note file, it will looks something like:
https://myinteranets.sharepoint.com/sites/intranet/sitepages/insidepagedocs.aspx
We will need the relative path for setting the navigational term example: /sitepages/insidepagedocs.aspx
Create a navigational term in this Modern site to support page Navigation
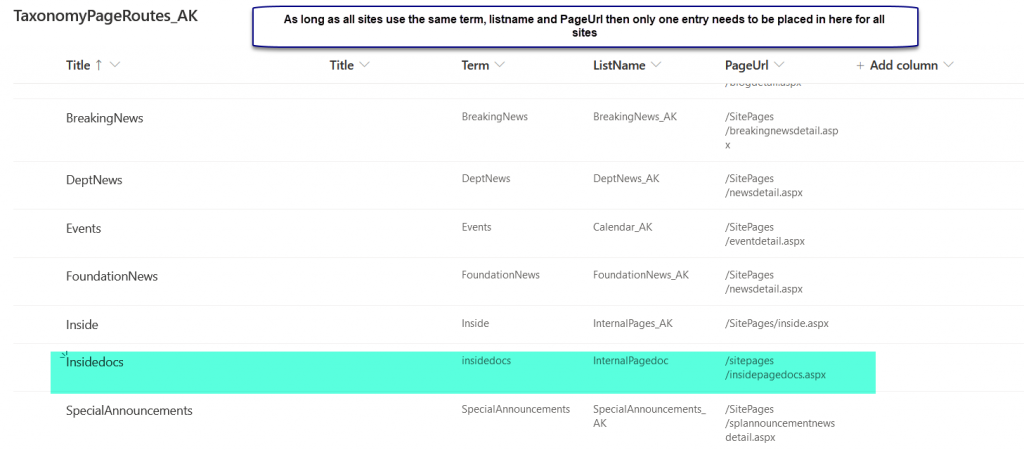
In a modern site the page navigation is managed on your central site collection (or standalone) in the list “TaxonomyPageRoutes_AK” a new item needs to be added to this list for the new navigational term in this case insidedocs. If you are adding the same page templates to all of your delivery sites and subsites and as long as you keep your pages with the same relative path page url and pointing to the same name supporting SharePoint list then you only have to create one entry in here for all sites.
Update the Configuration Cache on the site
On a Central/Deliver site collection the Configuration Cache must be updated when a new navigational term is added to “TaxonomyPageRoutes_AK”. To do this visit the central site AppManager > Management Apps > Site Creator.
- Set “Select site” = “Digital Workplace Core Site”
- Set “Select an Action = “Update Configuration Setting”
- Select “Update” button
Updating the Friendly URL on the supporting SharePoint list
The navigational term to this page template is insidedocs. The list generated during the creation of the widget instance InternalPagedoc, needs to have the column definition FriendlyUrl updated. Visit the List settings of the supported list and select the FriendlyUrl column.
Set the “Formula” to
=”/sites/myintranetsitename/SitePages/akumina.aspx#/insidedocs/”&AkLanguageCode&”/”&StaticUrl
replacing myintranetsitename with your site name, example: intranet or intranet/IT (if on the subsite IT)
Create a new page is simply adding an item to the Content App
Visit the AppManager to add new content
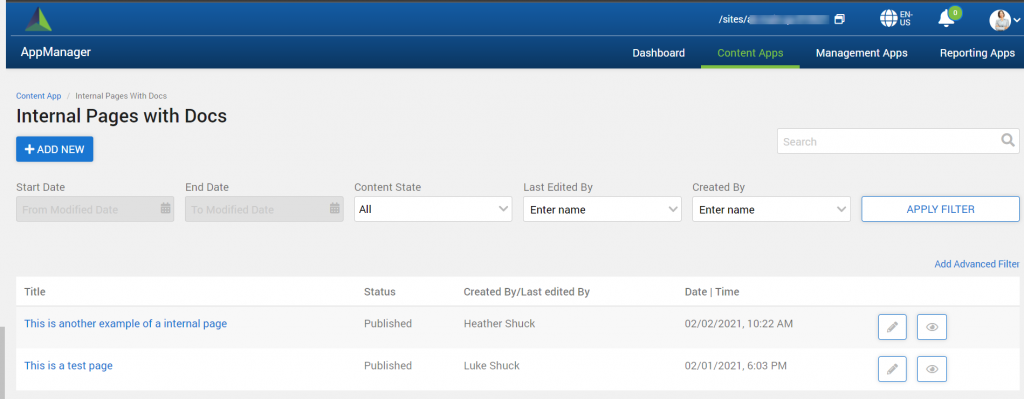
Select the content App tied to your internal page with documents, in this example: Internal Pages with Docs
On the content app “Internal Pages with Docs”, add a new item by clicking on “+ ADD NEW”, on the Content Apps’s listing page.
Complete the input fields as described on the InternalPageWidget “Content Section”, visit here for more information.
PUBLISH or SAVE the content
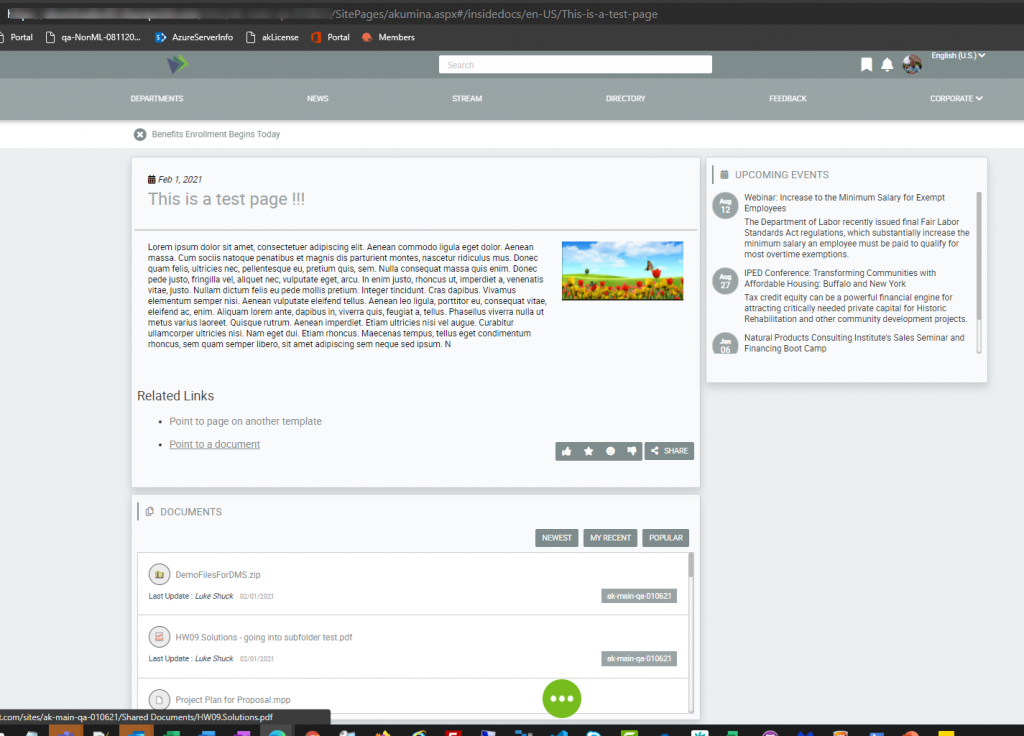
- Click on PREVIEW the page will open in a new TAB
- Click on FriendlyUrl link, the page will open in a new tab for you to preview.
- Copy the FriendlyUrl value to add to any site navigation to allow your page to display on your site.

Quick Content Edit
Place the page into Quick edit by selecting the Tray and the “Enable Quick Content edit” icon. Quick Edit allows you to edit the article or add a new article.
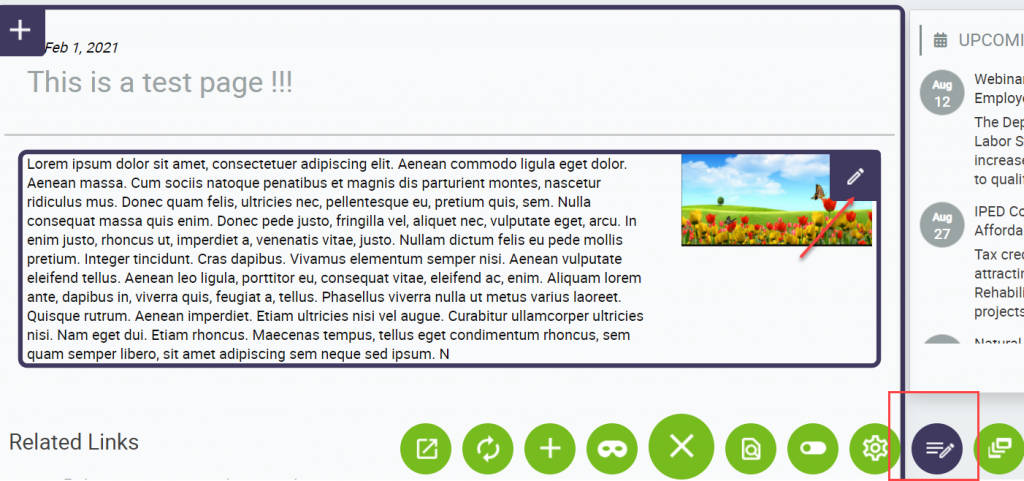
Edit the Article via Quick-Edit
After placing the article in “Quick Edit”, selecting the Body of the content and the pencil ![]() . The user will then be placed into AppManager, directly into this article in edit mode.
. The user will then be placed into AppManager, directly into this article in edit mode.
Add New Page via Quick-Edit
After placing the article in “Quick Edit”, select the plus, ![]() . The User will be placed into a blank input article form in the AppManager.
. The User will be placed into a blank input article form in the AppManager.
To learn more about Quick-Edit and adding articles please visit here.
Other Approaches to Adding Additional Pages starting on the Page Template
Adding new pages is simply adding a new item to the “Internal Pages with Docs”. This can be done as described above directly in the “Content App” by visiting the AppManager and selecting the Content app (described above). Adding new pages can also be done starting on the front end site on one of the pages that use this template.
- Expand the tray
- Click on the tray “GEAR” (edit widget properties on page)
- Select the appropriate widget GEAR

- On the “Widget Manager Model”, select tab Related Apps and select your Content App

This will put the Content Author directly into the supporting Content App’s listing page where they can simple click on “+ADD NEW” to add a new page to this template.