As part of release 4.8, a new feature has been added to provide Auto Widget Provisioning functionality to allow an authorized user the ability to create a new widget from the front-end and auto provision its dependencies (lists, taxonomies, etc.) to easily manage and quickly extend their DWP solution for a page.
Auto Widget Provisioning allows the user to create a new widget instance on the front-end, select the list to use (either existing or newly created) and the widget and contents will be added to the page.
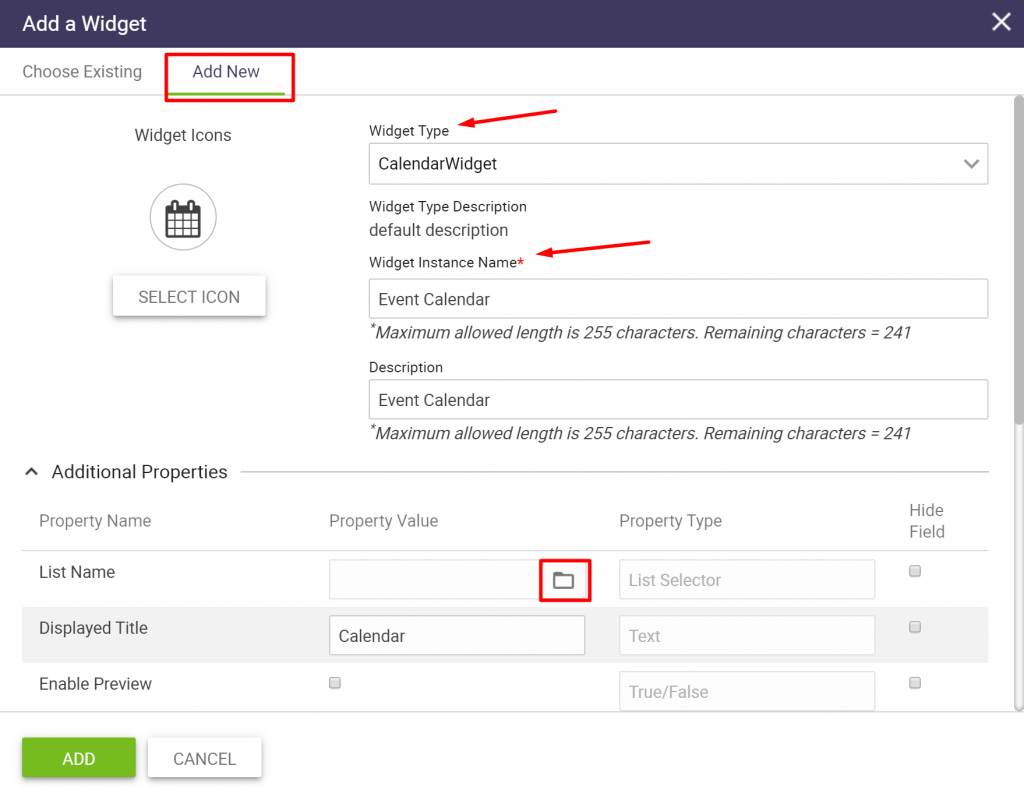
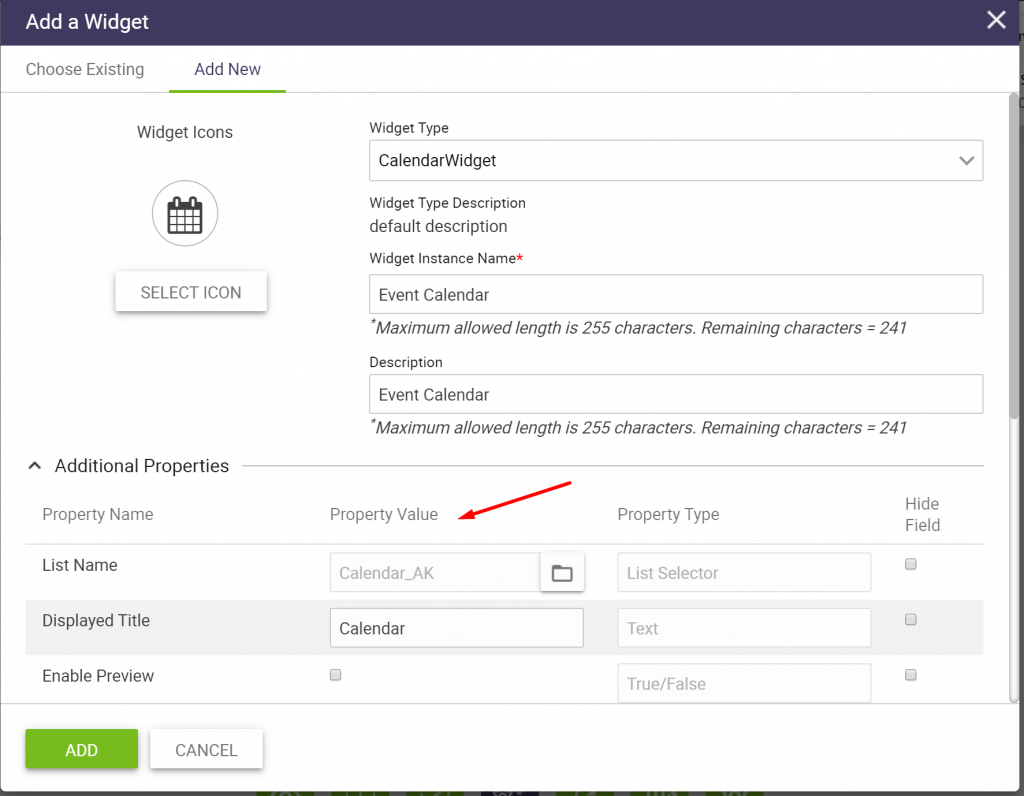
In page edit mode, add a new widget instance:
- Select “Add New”
- Select Widget Type
- Create a Widget Instance Name
- Option to Select Icon and Create Description
- Click on List Name folder icon
Note: Please refer to “Working with Experience Builder” user guide for additional information.
A Content List pop up box will appear with options to (a) Select List, (b) Create New List, or (c) Advanced Mode (All lists):
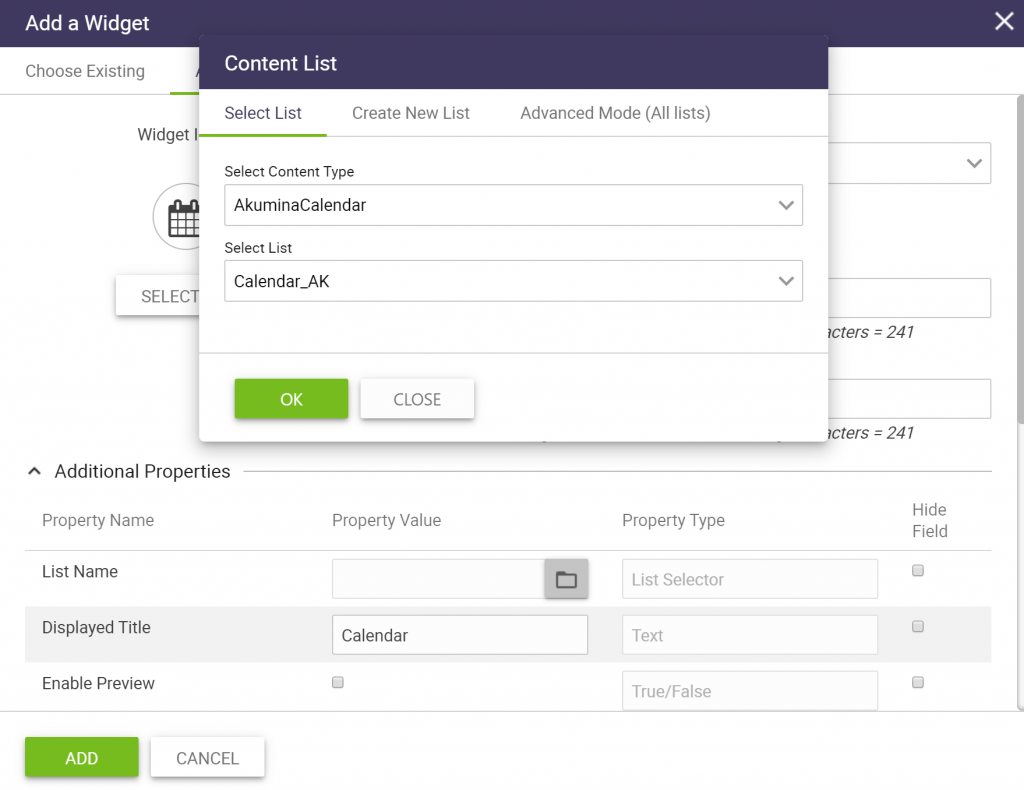
(a) To create a new widget instance using an existing list with the same content type:
- Click on Select List
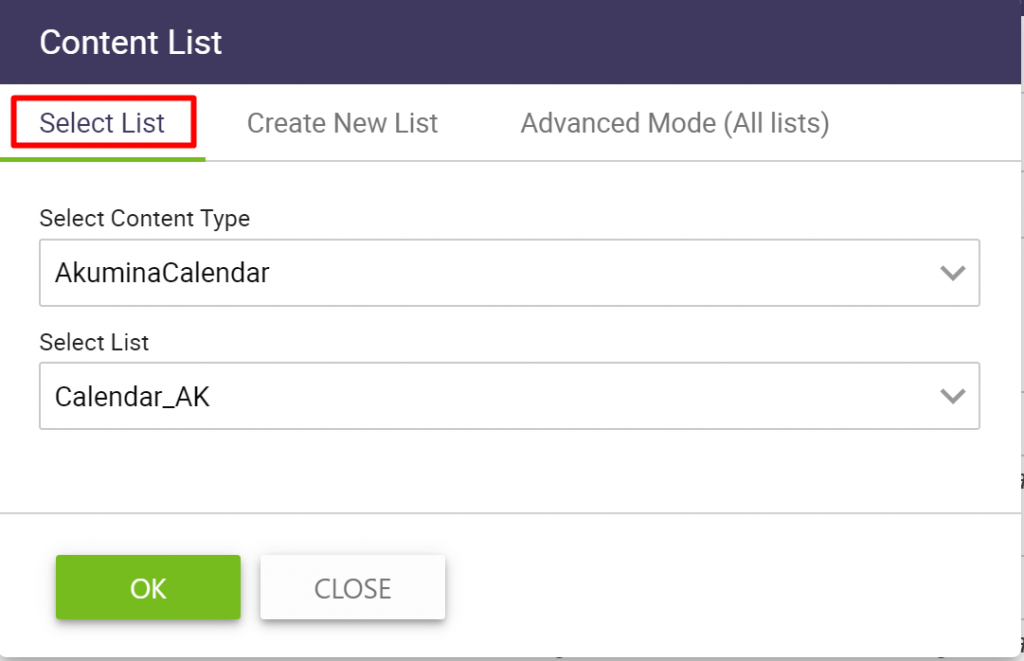
- The content type is prepopulated in the Select Content Type based on the content type selection on the prior screen, in this example Calendar Widget
- The Select List drop down will display the existing lists available for the content type
- Select the list and click ok
(b) To create a new widget instance using a newly created list with the same content type:
- Click on Create New List
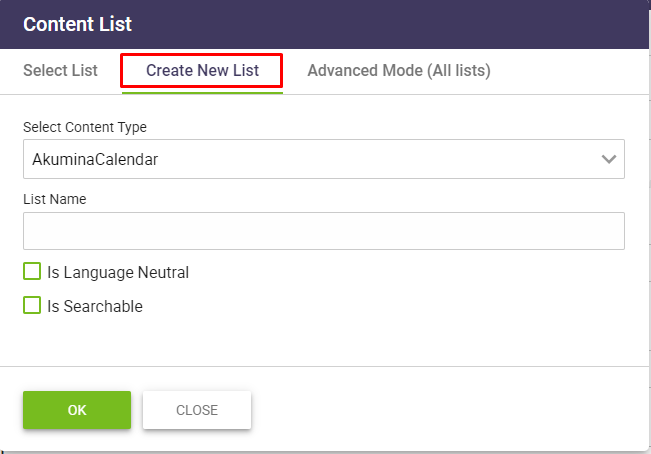
- The content type is prepopulated in the Select Content Type based on the content type selection on the prior screen, in this example Calendar Widget
- The Select List drop down will display the existing lists available for the content type
- Select the checkboxes (as applicable)
- “Is Language Neutral” – if checked, the newly created list will be added to the language neutral lists
- “Is Searchable” – if checked, the items from the list will be allowed to appear in the search results
- Select the list and click ok
(c) To create a new widget instance using advanced mode (all lists) with any content type:
- Click on Advanced Mode (All lists)
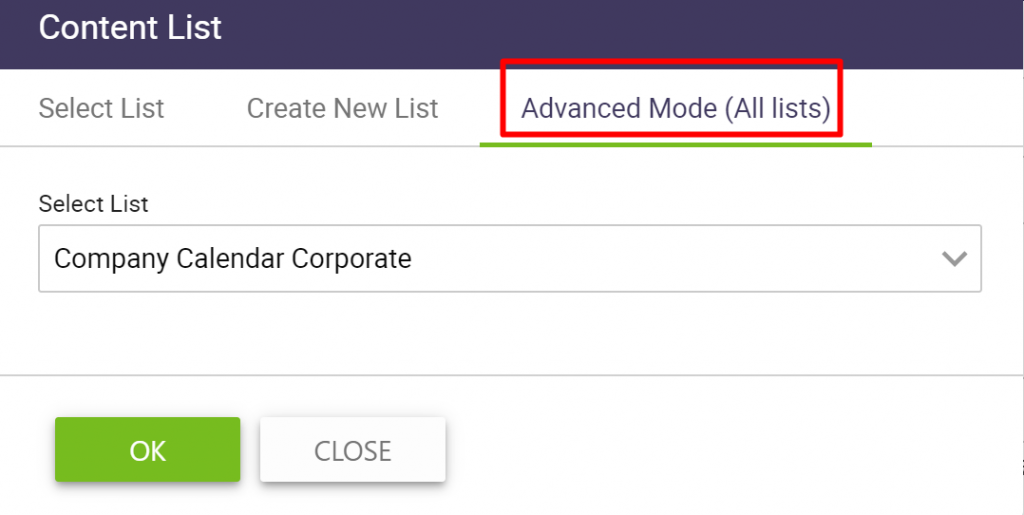
-
- Select List from the drop down of list names
- Click ok
The selected list will appear in the List Name Property Value
Click add and the widget with content will be added to the page.