FS ‘20 Content Apps Reference Guide
The purpose of this topic is to give an overview of the features and functions of the Content Apps within AppManager that are included in the Akumina FS ‘20 default install for both the Home site and the Department Sub-sites. FS’20 is available with release 4.8 and above.
The AppManager has several content app “types”. The type associated with a particular content app is set by the developer/admin for the site, so typical content authors only need to know what to expect when using certain app types.
Supported App Types in AppManager:
- Author App Type: Base content app used for loading content
- Curated App Type: Used for managing a curated list of items (new, events, people, etc.)
- File App Type: Used for document uploads
- Image Gallery App Type: Used for managing images
- Slider App Type: Used for creating multiple “slides” of content
- Quicklinks: Used for creating a hierarchical tree view of folders and links
FS’20 Home Site Content Apps
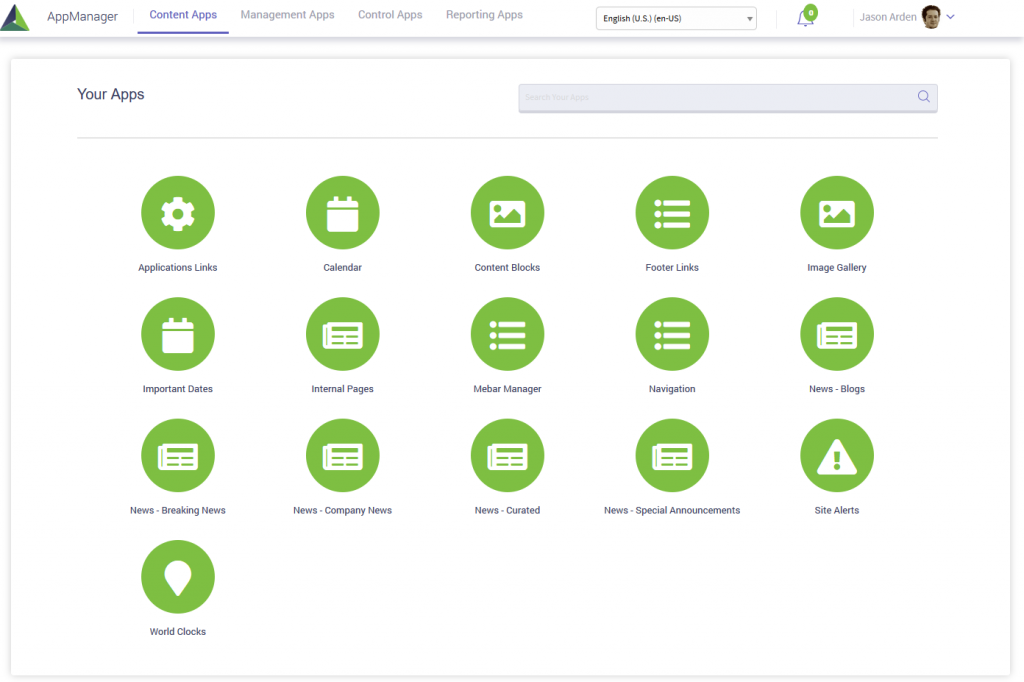
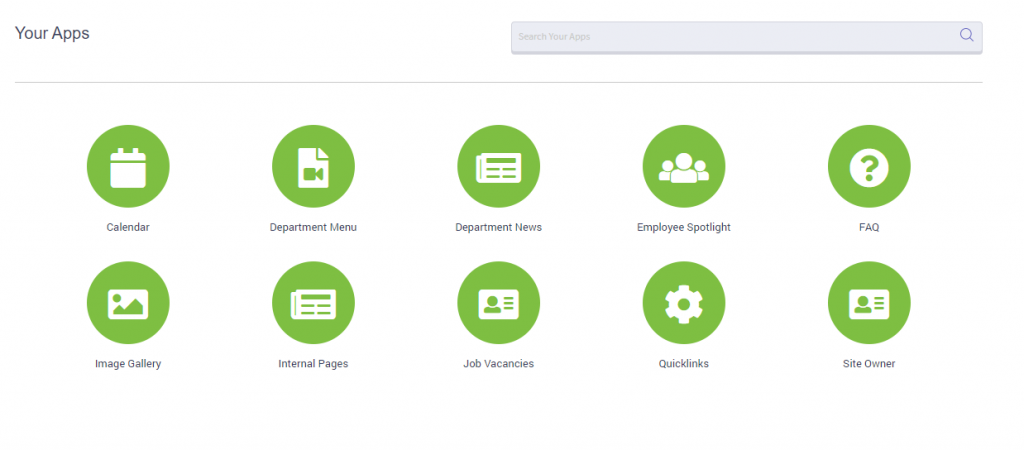
Below are the default apps which are included in the FS’20 Home Site.
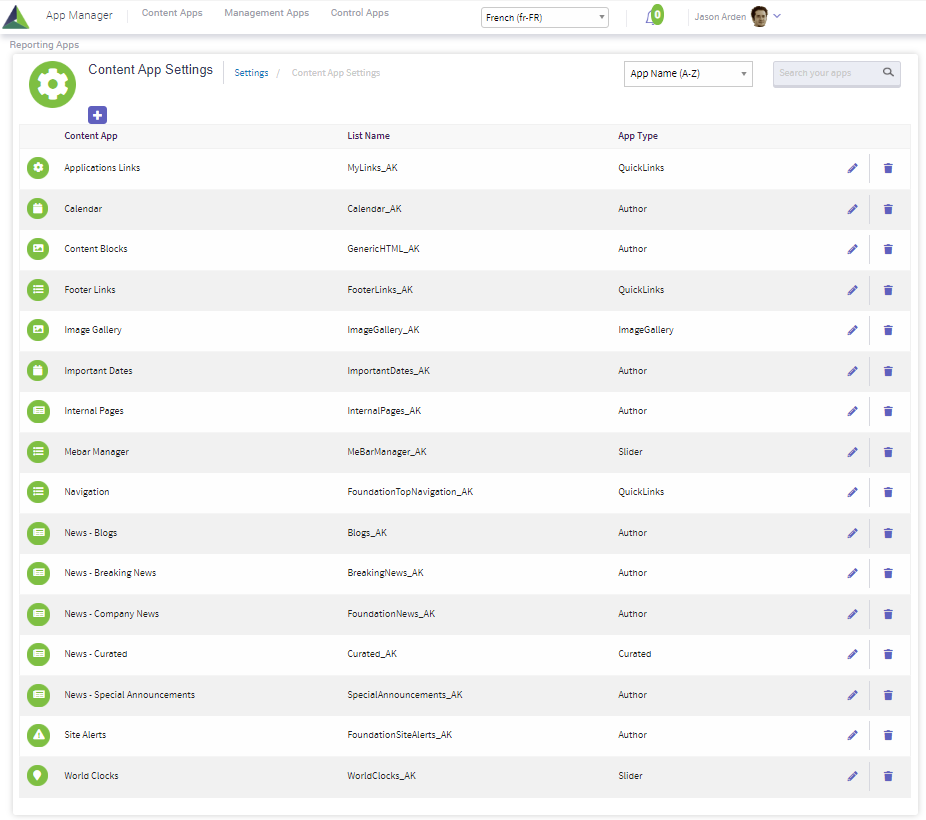
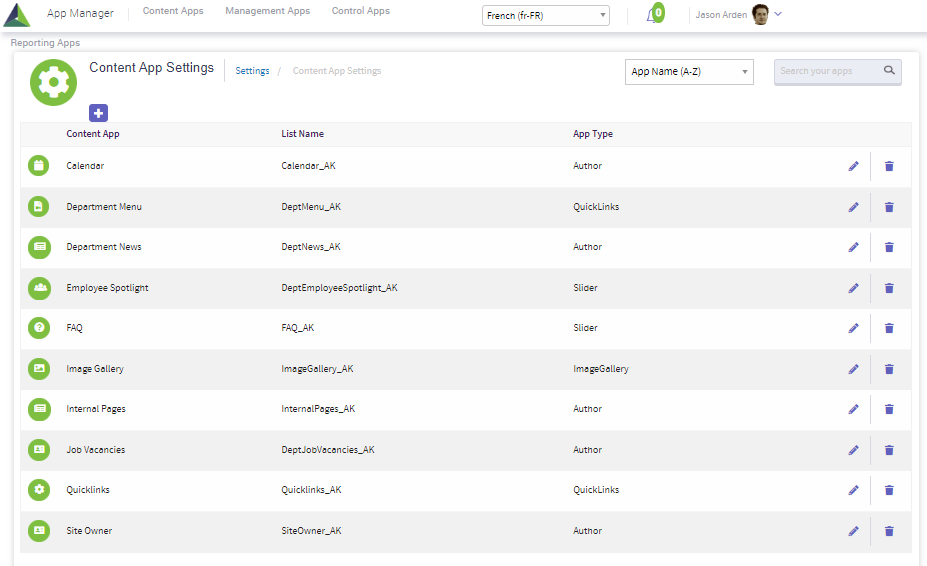
Below are the Home Site content app settings which include the content app name, list name and app type.
Below are a sample set of instructions for using the Home Site Content Apps.
For additional information, please reference the following documents:
Working with Author Type Content Apps
Working with Curated Type Content Apps
Working with Quicklinks Type Content Apps
Working with Slider Type Content Apps
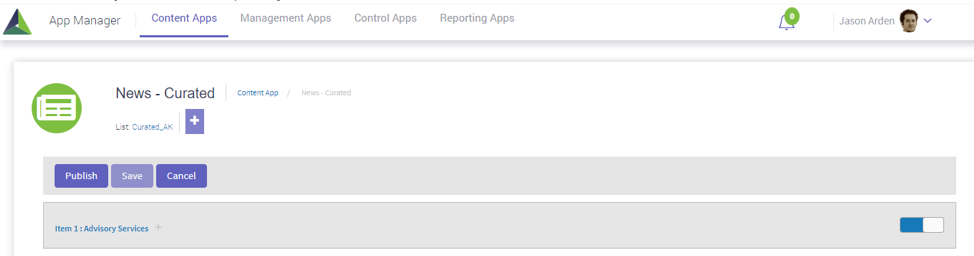
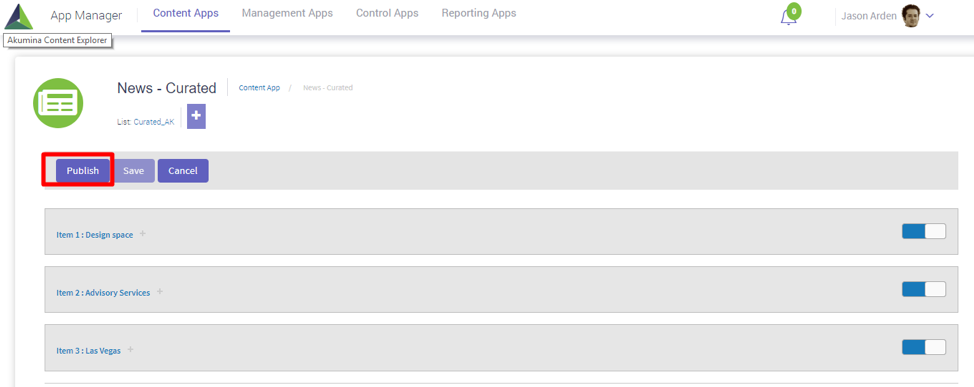
Using the Curated News App
- Click on News – Curated icon
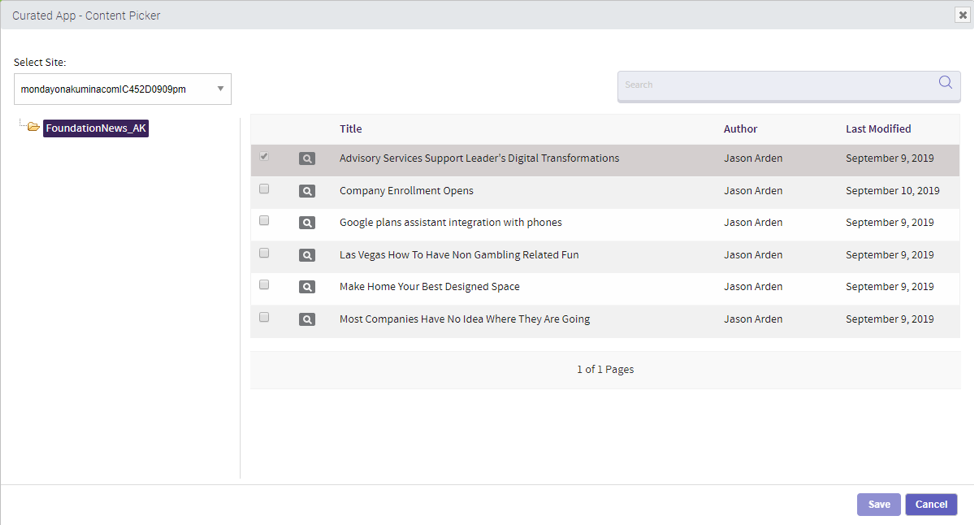
- Click “+” to add content
- Click on the content to be added to the curated list and click save. Note: The items already in the list will have a check mark and be grayed out.
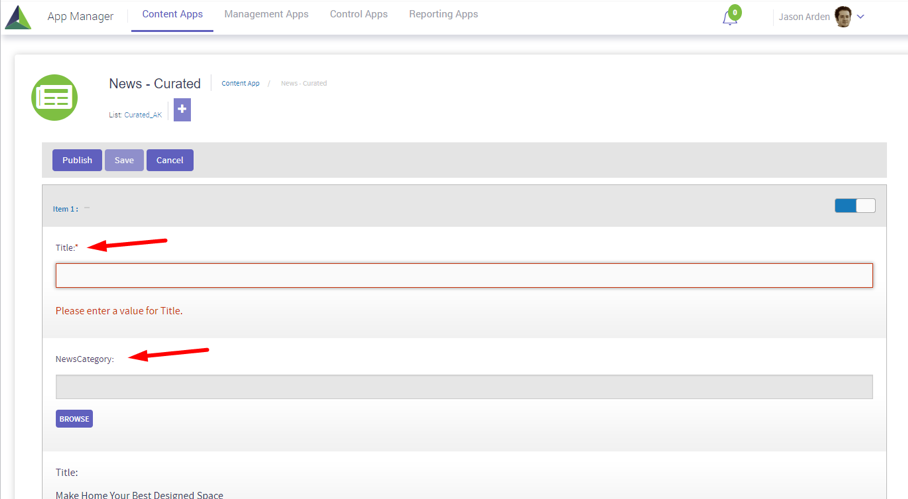
- Enter in a required Title A NewsCategory is optional to be specified for filtering.
- Click PUBLISH
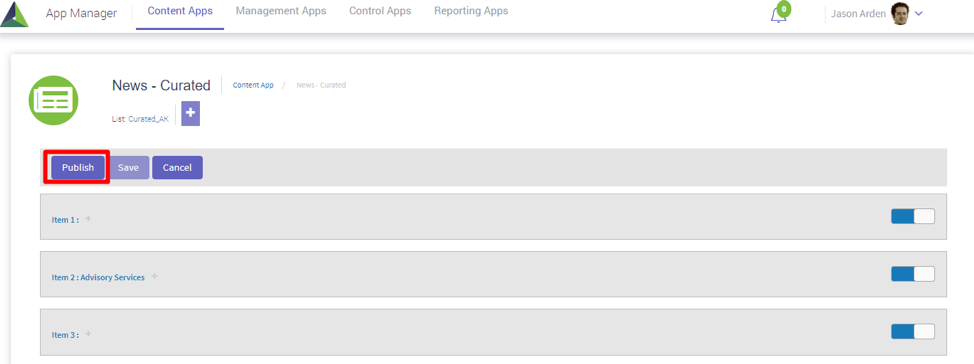
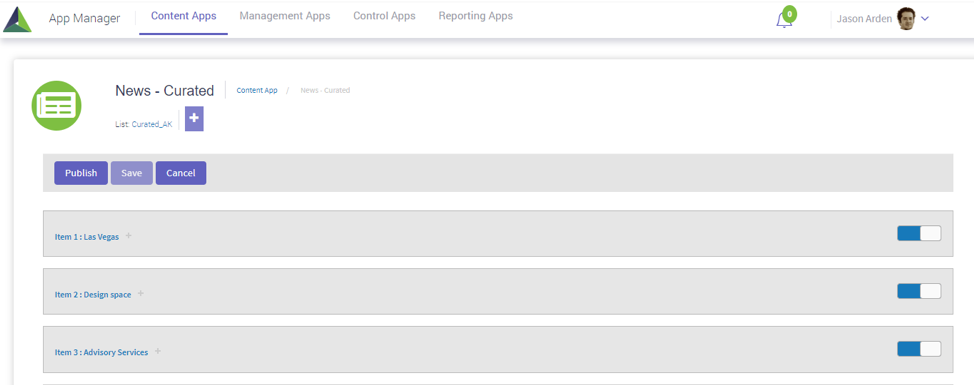
- Content can be re-ordered by dragging and dropping the items
- Click PUBLISH
Using the Company News App
1. Click on News – Company News icon
2. Click “+” to add content
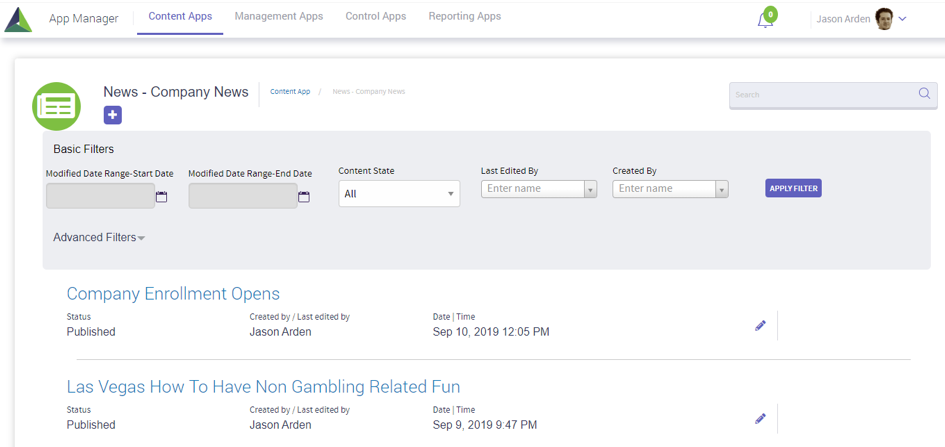
3. Enter in the Required Fields of Title, Start Date and Announcement Title, along with the additional fields of information as needed.
4. Click PUBLISH
Using the Important Dates App
1. Click on Important Dates icon<
2. Click “+”
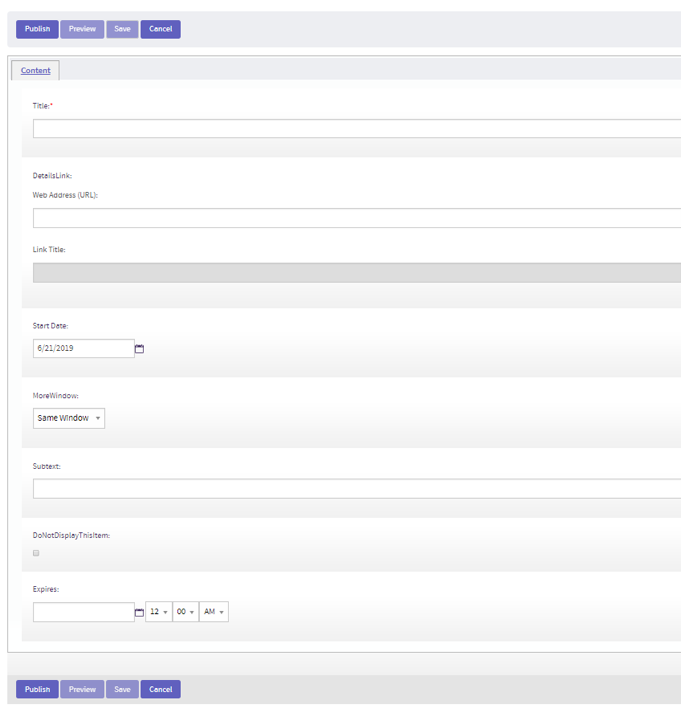
3. Enter event information
- Enter in the required Title field along with
- The Start Date which is the date that will be displayed on the item
- Sub-text line (optional)
- The link you want the user brought to if they click on the title (optional)
- If using a link, whether you want that to open in the same window or a new one
- If you want to no display (hide) the Important date
- The automatic expiration date where the item will no longer be visible (optional)
- Click Publish
Using the Main Menu Navigation App
Click on the Navigation App
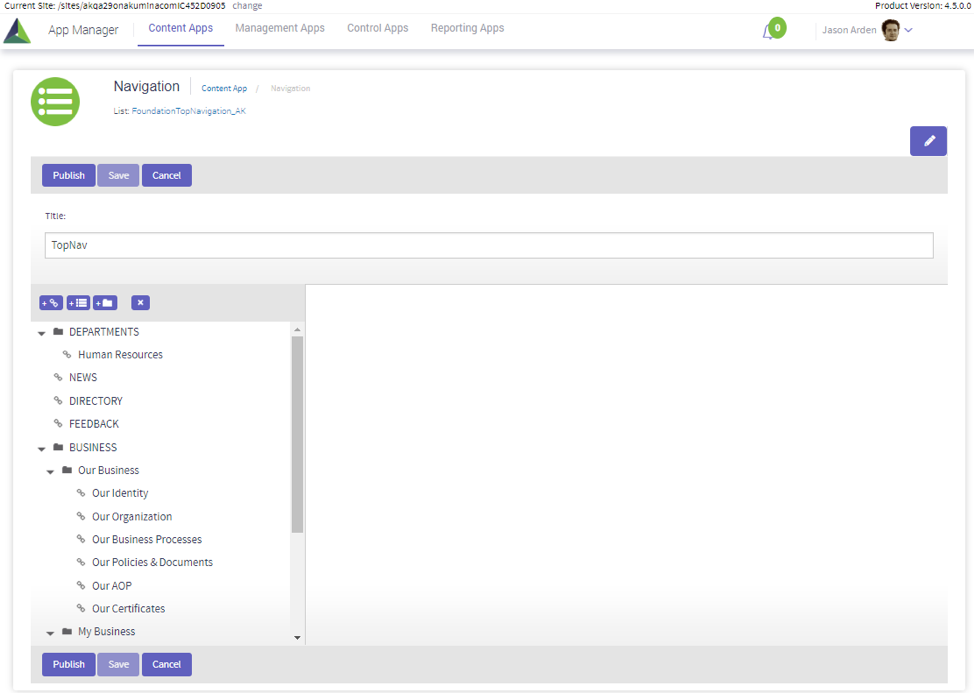
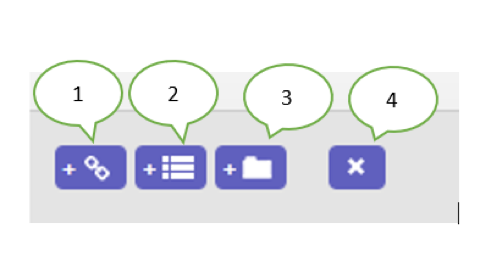
- Adds a link
- Adds a forms link
- Adds a category in the menu
- Deletes a selected link or menu
Inserting a link
In the following example, we
- Inserted a new top level menu category
- Added a new link under that top level menu item
- Can edit the name, URL, window behavior (same or new window) and the icon of the new link if supported. Use the active field to hide/show menu links as needed
Using the Site Alert App
- Click on the Site Alert App
- Click on the pencil to edit an existing alert
- Click on “+” to create a new alert
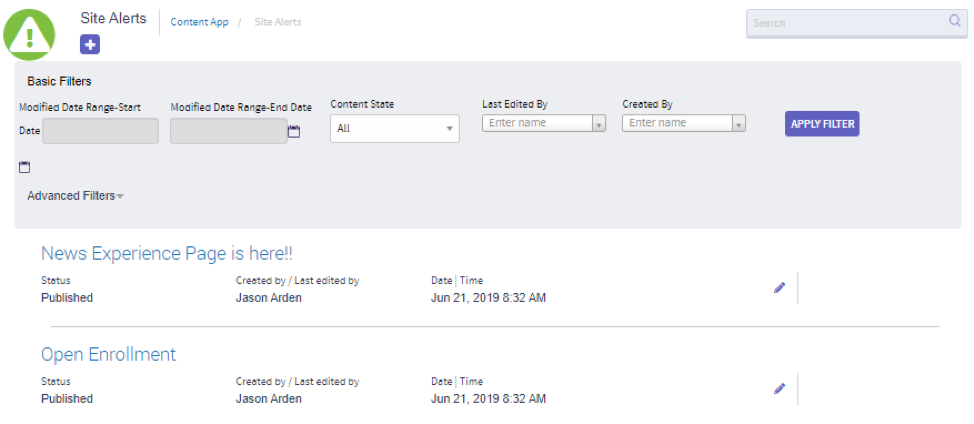
- Enter the required fields
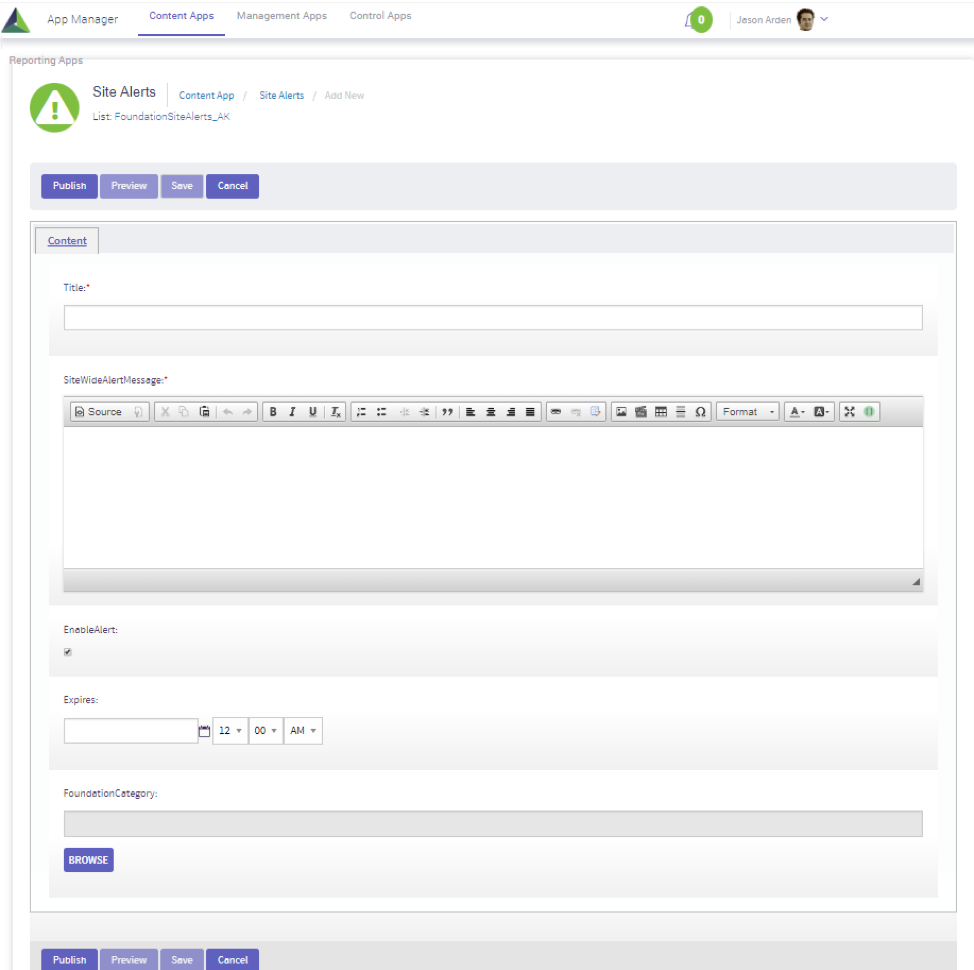
- Enter in the required Title field along with the Site Alert Message to be displayed
- Click on the “EnableAlert” box if you want to enable the display of the alert
- Set an expiration date which will automatically hide the alert (optional)
- Click Publish
FS’20 Department Site Content Apps
Below are the apps which are included in the FS’20 Department Sub-Site.
Below are the Department Site content app settings which include the content app name, list name and app type.
Below are a sample set of instructions for using the Department Site Content Apps.
For additional information, please reference the following documents:
Working with Author Type Content Apps
Working with Curated Type Content Apps
Working with Quicklinks Type Content Apps
Working with Slider Type Content Apps
Using the Calendar App
- Click on the Calendar app icon
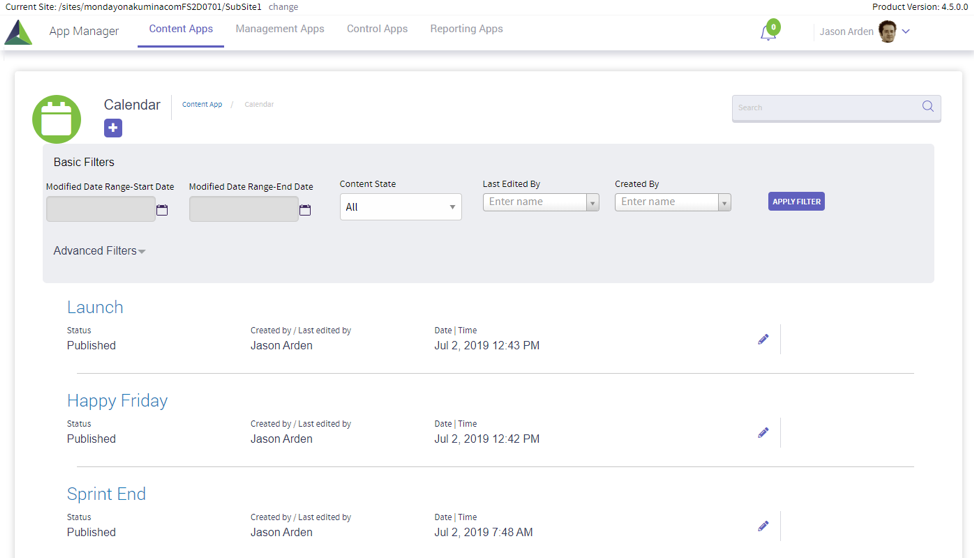
- Click “+” to add new event
- Enter in Required fields of Title, Time & Recurrence and Event Title

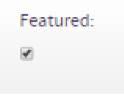
- Mark as Featured if you want the event to show up on the Calendar page.
- Click PUBLISH
![]()
Using the Dept Menu App or Quicklinks App
Both the Department Menu and the Quicklinks app are the same basic app type (Quicklinks app type)
- Click on the Department Menu App or Quicklinks App
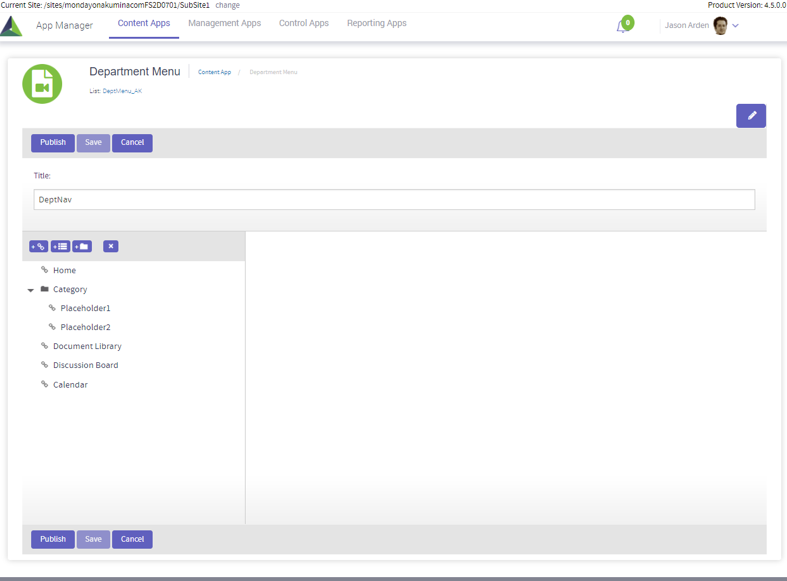

- Adds a link
- Adds a forms link
- Adds a category in the menu
- Deletes a selected link or menu
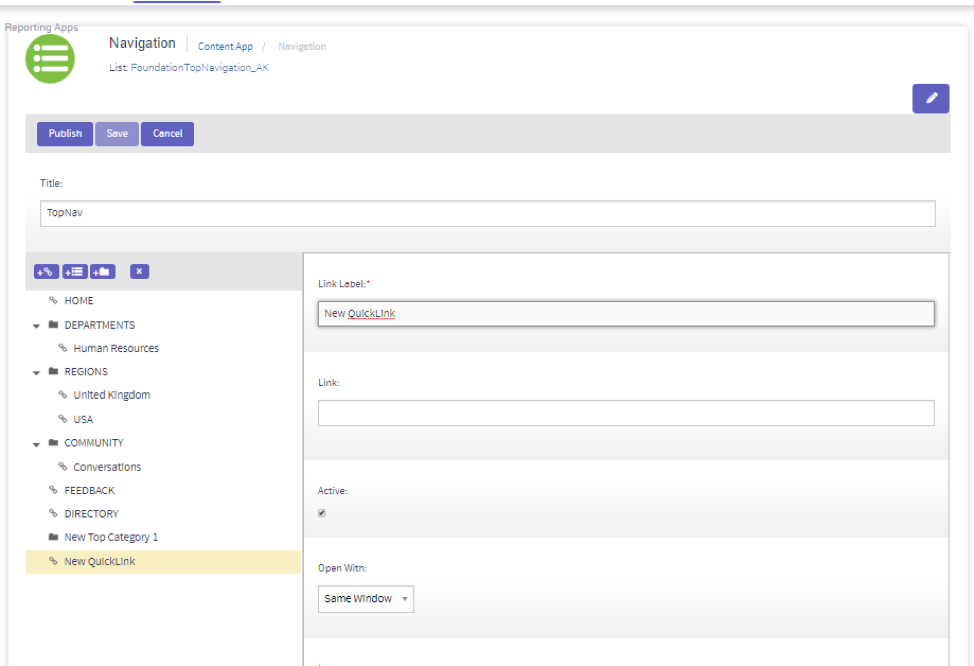
Inserting a link
In this example I clicked on the folder “Policies” and the Link icon
The link is created in the selected folder
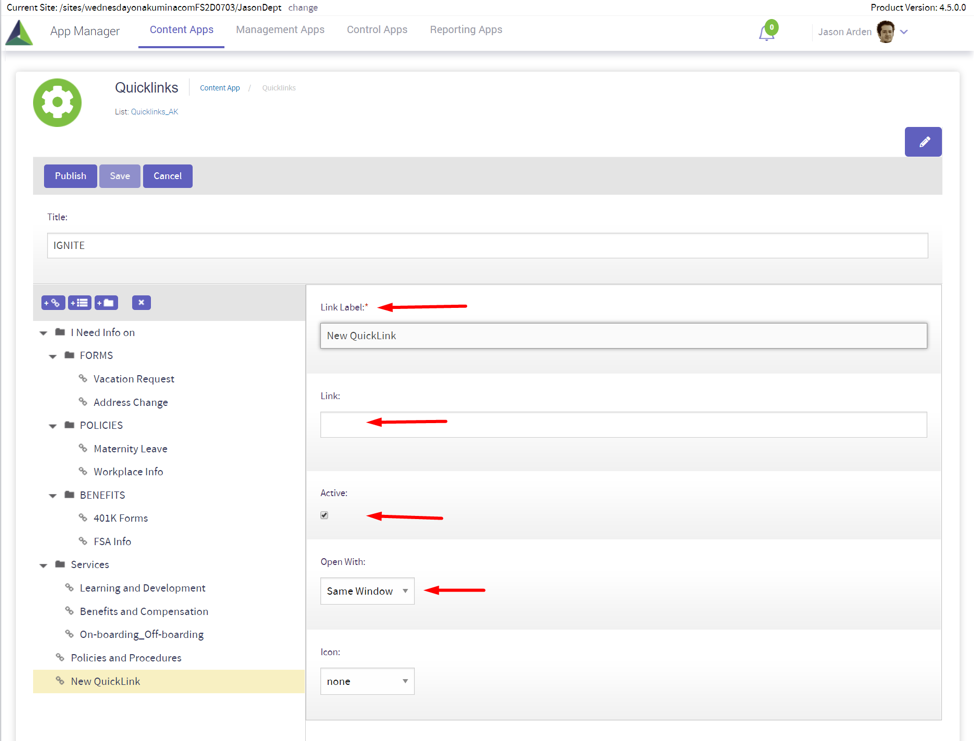
- Enter in link label
- Enter in Link
- Select Active if you want your link to be displayed
- Select whether the link should open in the Same or New Window
- Click PUBLISH
![]()
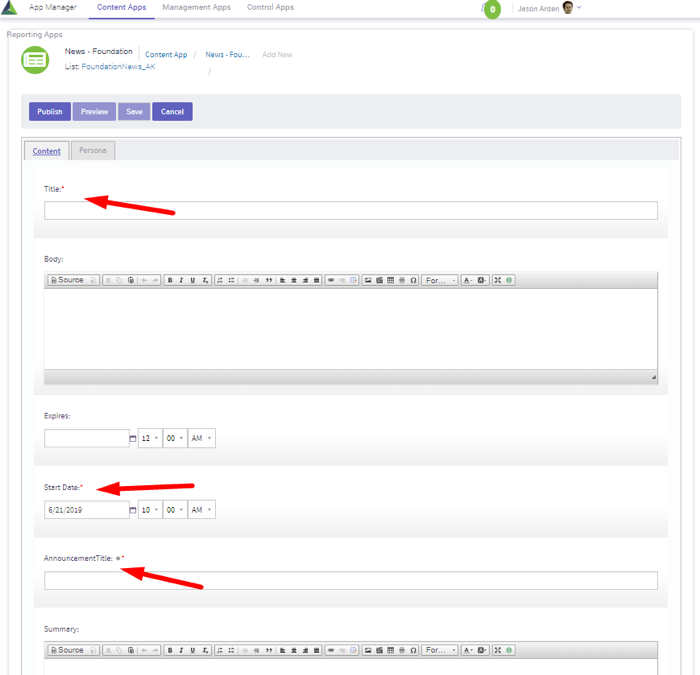
Using the Department News App
- Click on Department News icon
- Click “+” to Add New
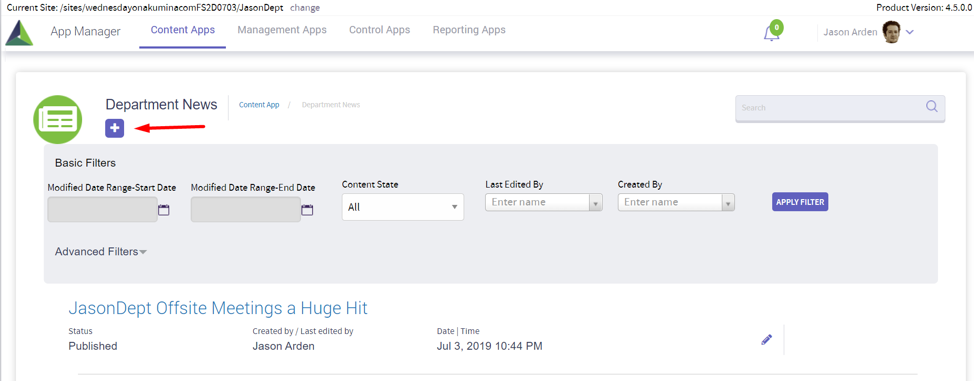
- Enter in the Required Fields of Title, Start Date and Announcement Title

- Click PUBLISH
![]()
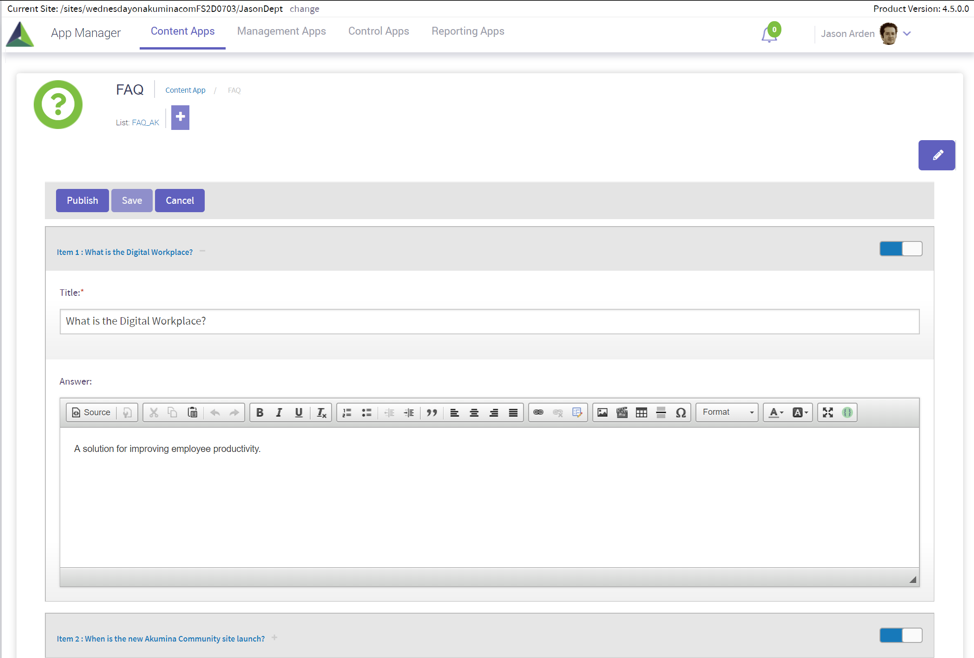
Using the FAQ App
- Click “+” Add New Item to create new FAQ questions answer pairs,
- Fill the Question in the Title field.
- Fill the Answer in the Answer field.
- Drag the grey bars up or down to reorder the questions answer pairs.
- If you would like to create a question answer pair inactive drag the grey bar below the inactive line at the bottom of the app display.