The Summary Links Widget (SLW) provides front-end content management and design without the need for the advanced concept of content apps or the need to manage multiple lists. The SLW is a powerful and versatile widget that allows you to easily create and edit content links, change content groupings, add a presentation layer, and order the display from the front-end.
In release 6.0 and above:

In release 5.5 and below:

When a new SLW instance is added to a page, in page edit mode, it will display a message to “switch to edit mode” in the cell.

Remember to save the page after making changes to the SLW widget properties.
Manage Collections
Manage Collections allows the content author to create a collection of content from the front-end, which is stored in one list for all SLW instances. The SLW collection will automatically be updated on all pages where the same collection is used, allowing the content author to change the content once, and have the updates applied on multiple pages.
Clicking the gear will invoke the manage collections popup to select a collection or add a new collection.

Add a Collection
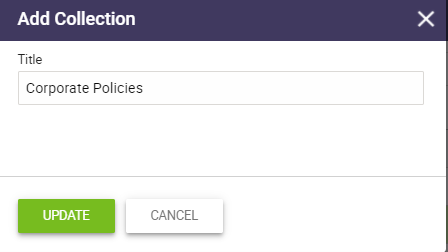
Click on “Add Collection” button.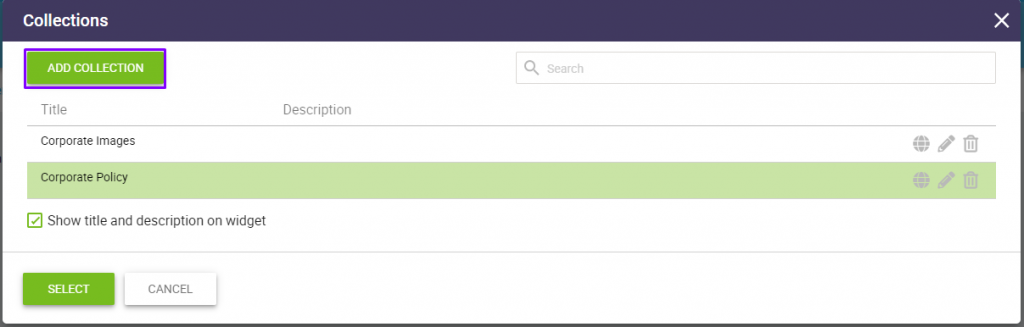
Enter a Title for the new collection. Add a description (optional) using the ckeditor features, and click save.

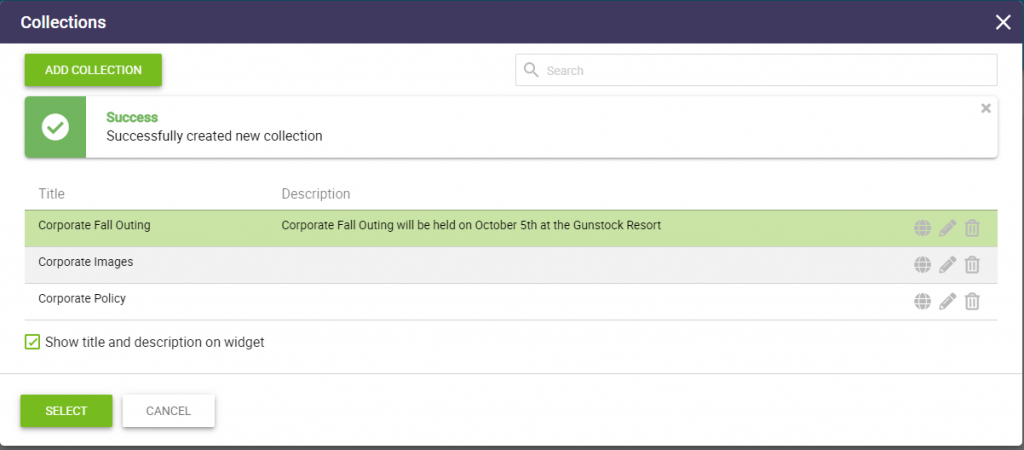
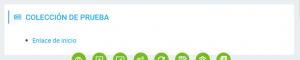
After clicking select, the new collection will display on the page with the default presentation model including a default collection group and two default group links, as shown below. Note: The default group and links are only a preview of the presentation and are not editable items. To add new groups and links to the collection, see the SLW Inline Editing section below.
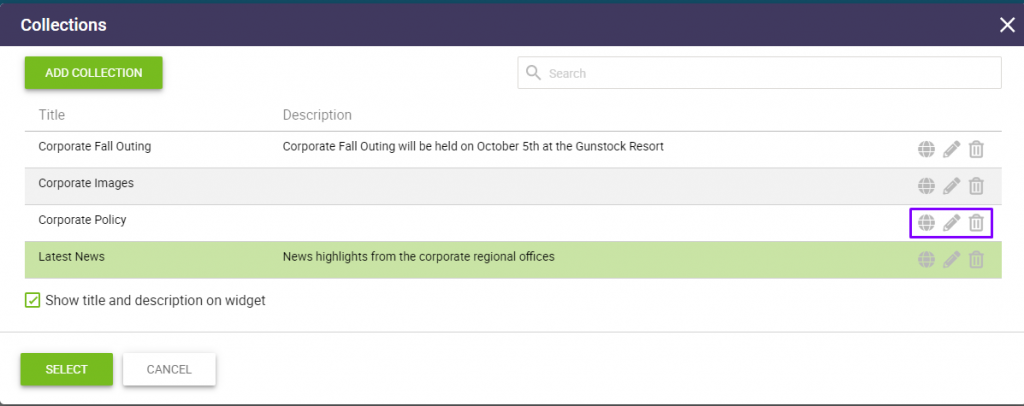
Collection Title Display
When adding a collection, you can chose to display the collection title and description as the widget title or display the collection content without a title. The title display is determined by the checkbox “Show title and description on widget”. By default, the content title and description is displayed and the “Show title and description on widget” is checked. To remove the title from display, uncheck the checkbox.

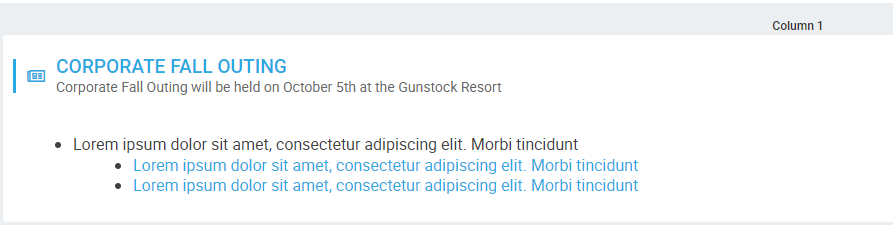
In the example below, the content collection is using the default selection to display the widget title and description. The Corporate Fall Outing title and the description is displayed on the widget instance on the page.
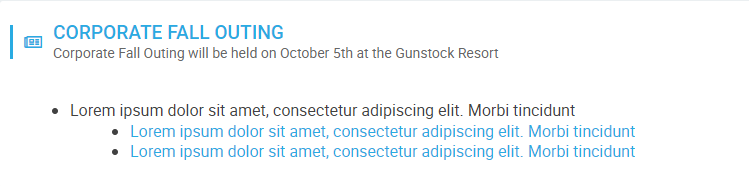
In the following example, the same content collection has the “Show title and description on widget” unchecked, and the Corporate Fall Outing default content is displayed without a title and description on the widget instance on the page.

Editing a Collection
To edit an existing collection, select a collection and click the edit buttons to auto-translate, edit or delete.
Auto-translate a Collection
Clicking the globe icon will auto-translate the content to a multi-lingual version for all active languages.
![]()
After the initial auto-translated language version is created, if desired, the multi-lingual collection of items version can be edited separately creating a unique collection id and will not have automatic updates applied.
Click on the globe icon for the collection that you are using for your widget to confirm all active languages have been created.

If a new active language version has been added after collection has been created, the system will provide a button to create a language version.
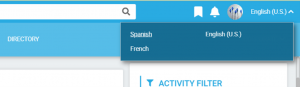
Once you have confirmed that versions of your widget already exist for all active languages, close out of the collections view, and change the language version of your page. For this example, we are using Spanish.
The Summary Links Widget collection will be displayed on the page in Spanish, as shown below:
If we go into edit the link in the widget, we can also see that the text inside has been translated as well.
Editing a Collection Name
Clicking the pencil icon will provide a popup modal to change the collection title. The changes to the collection name will automatically be updated on all pages where that specific collection is used.
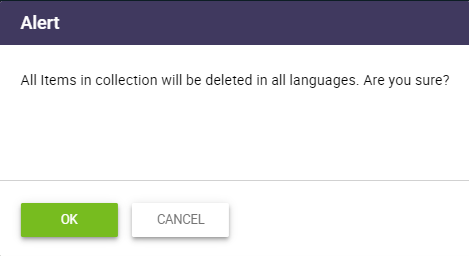
Deleting a Collection
Clicking the trashcan icon will provide a popup modal to alert all items in a collection will be deleted in all languages.
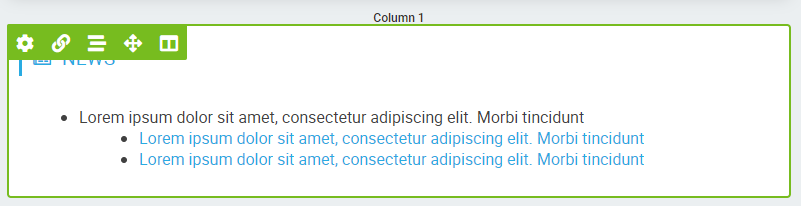
SLW Inline Editing
Clicking on the SLW widget instance, provides several editor features for inline editing to create and modify content.
The content author can easily modify new or existing content by using the edit widget properties. All inline editing capabilities, except configure display views, will automatically be updated on all pages where the specific collection is used, allowing the content author to change the content once for multiple pages. Configure display views allows the same content to have a different presentation layer selected for each widget instance.
Remember to save the page after making changes to the widget properties.

Manage Collections
Clicking on “Manage Collections” allows the content author to create or change the collection, edit the collection name or description, remove the display of collection title, or delete the collection.
Add Link
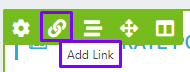
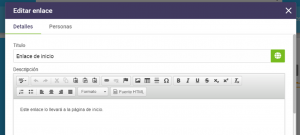
Clicking on “Add Link” allows the content author to easily create content links with descriptions, add a tooltip and associate an image with the content.
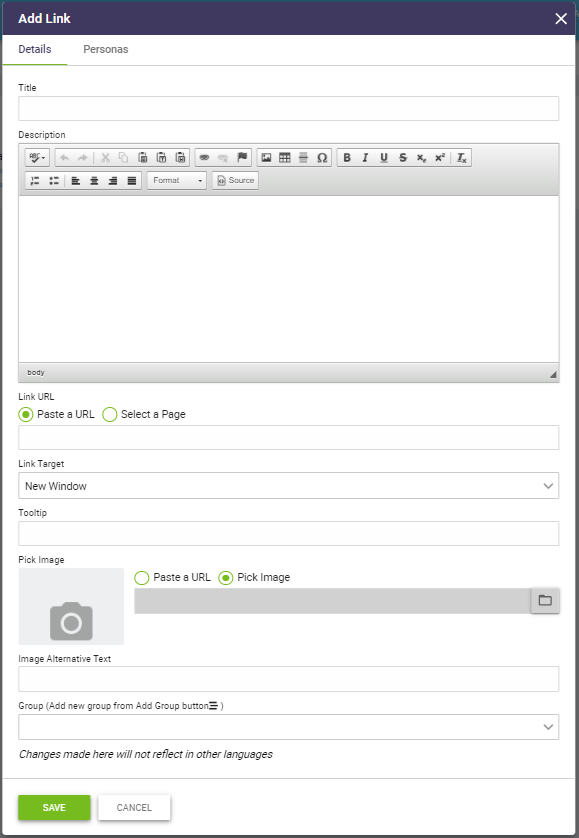
- Add the link title
- Add a description using the ckeditor functions
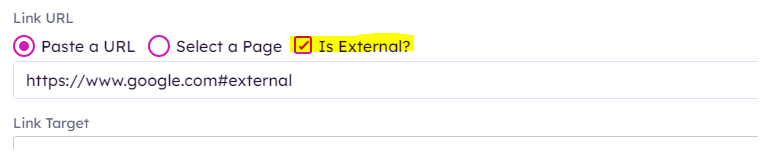
- Select the URL for the link (paste a URL or select a page)
- The Link URL has been updated in AppManager 5.5.2207.2617 to add “Is External?”. When this is checked, it allows the user to decide if the link is going to be to a location outside the intranet, such as a DIRECT link to SharePoint.
- Select to open link in a new window or the same window
- Add a tooltip which will display on hover of the item
- Select an image using the dropdown folder
- Select an image library from the dropdown
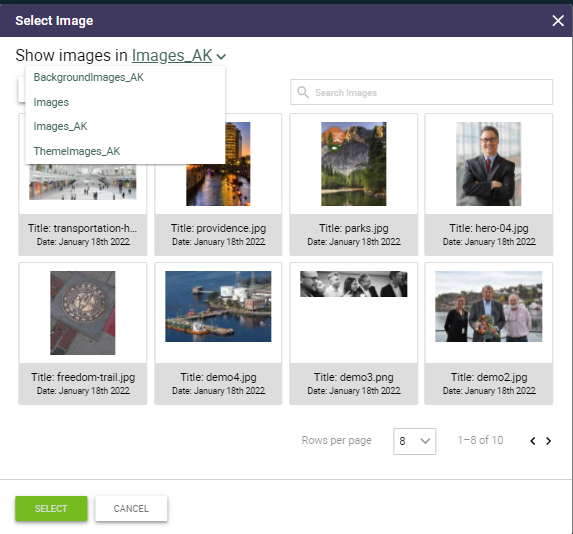
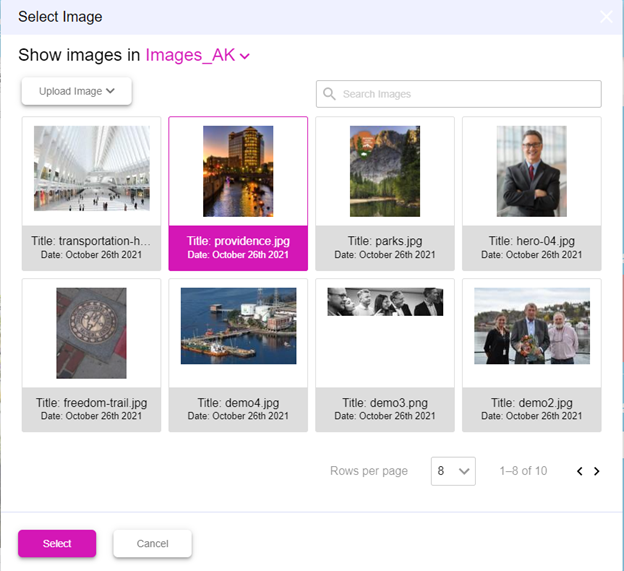
- Select an existing image
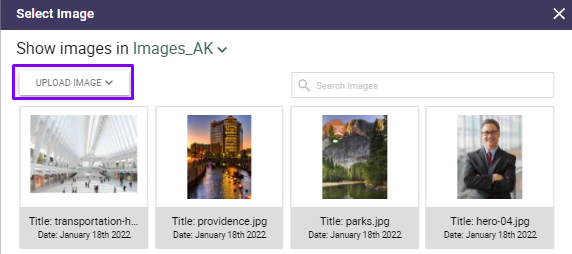
- Upload a new image
- Click select
- Select an image library from the dropdown
- Add alternative text to display for the image title
- Select the parent group for the link
- Click save
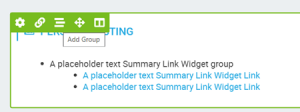
Add Group
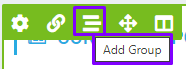
Clicking on “Add Group” allows the content author to easily create a new content grouping.
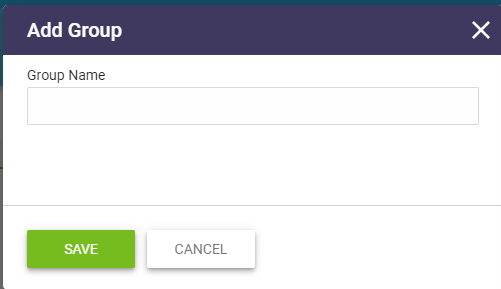
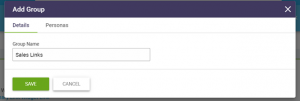
- Add a Group Name
- Click save
Reorder Links

Clicking on “Reorder Links” allows the content author to easily reorder the sequence of content.
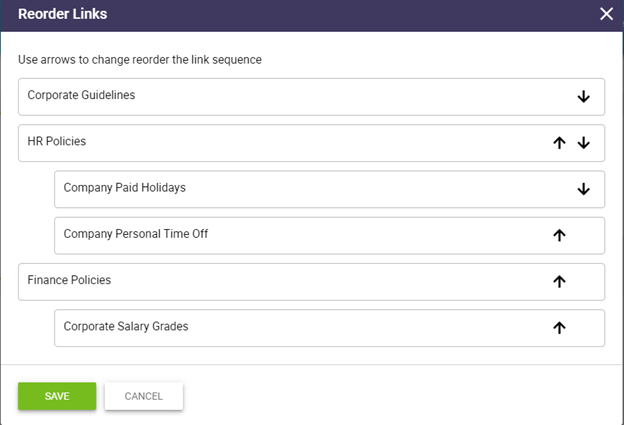
- Click on the up/down arrows to reorder groups and links.
- Moving a group will move all the associated links with the group
- Moving a link will move the link and change the associated group for the link
- Click save
Configure Display Views
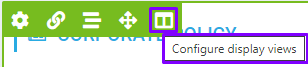
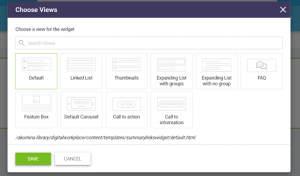
Clicking on “Configure Display Views” allows the content author to easily change the presentation of the content by selecting a new view.
NOTE: Configure Display Views is specific to the SLW widget instance and will not be automatically updated across the pages using the same collection.
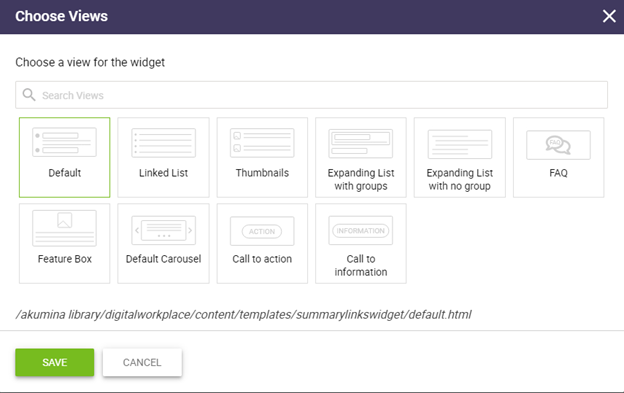
- Select a presentation layer view
- Click save
As shown below, the content presentation can quickly be modified by selecting a different view.
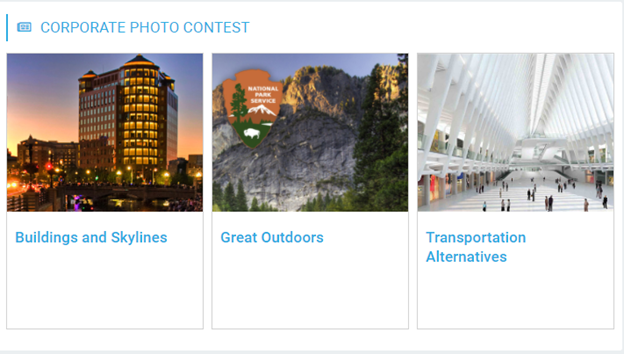
Feature Box View
Default Carousel View

Thumbnails View

Linked List View

Expanding List with Groups View
 Expanding List with No Groups View

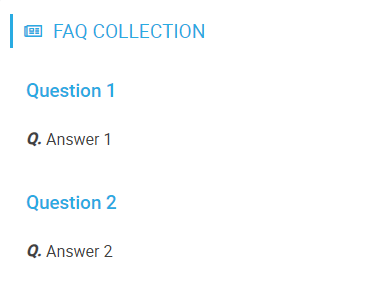
FAQ View
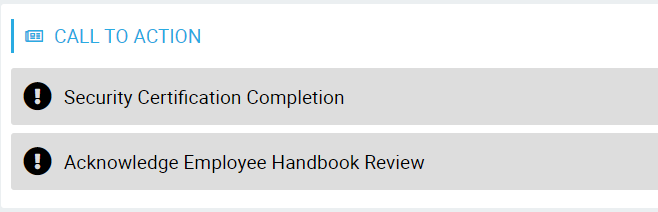
Call to Action View
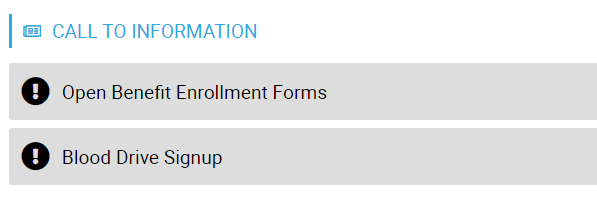
Call to Information View
Editing an Existing SLW
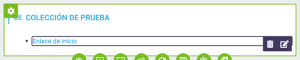
To edit the existing SLW groups and links, in page edit mode, hover on the group or link to edit. The edit and delete icons can be selected for the item to be modified.
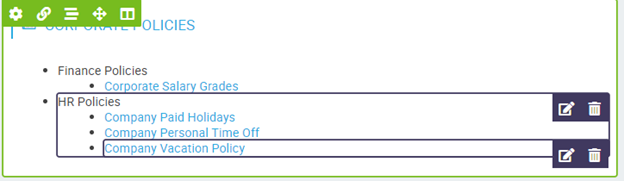
Remember to save the page after making changes to the SLW widget properties.
SLW Persona Functionality
The Summary Links Widget provides the ability to personalize content to targeted employees or groups through the use of Personas. Whether you only want certain departments to be able to access specific links, or people based in the regions of your choosing, this functionality will let you do all of that, and allow you to impersonate a user to confirm it is working as intended.
To learn more about creating and editing Personas, click here for details on Working with Persona Builder.
For this example, we will create a new SLW group that only the Sales team can view.
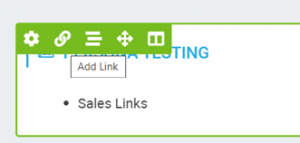
Click on “Edit page content”, and the click on the “Add Group” icon
Add a new SLW Group. For this example, we will be using “Sales Links”. Click save.
Add in a link that will only be able to be viewed by sales
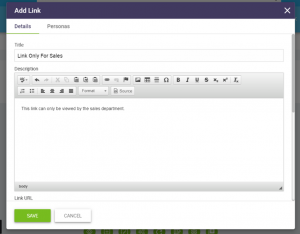
Under the “Group” option, click on “Sales Links” to add it to the respective group and click save

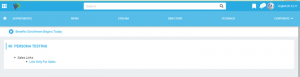
Here we can see we successfully added the link into the “Sales Links” Group.

Click on the “Edit Group” which appears when you hover over the “Sales Links” group

Navigate to the “Personas” tab and select a persona to be associated with the group. For example, “Sales 1” persona
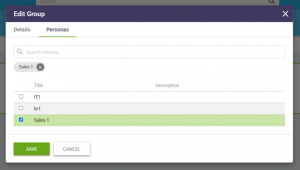
Click Save
Click on the “Save page” button
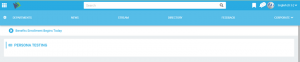
And now we can see that there is nothing displaying for our “Persona Testing” Collection. That is due to the fact that we do not meet the criteria of being in the sales department. But, we can use the Impersonate Engine to see what it will look like if we were in the sales persona.
Click on the “Impersonate” button from the tray
Select the user or group you wish to impersonate from the Impersonate Engine. Click here for details on Working with Impersonation Engine.

Make sure to click the check mark next to the Persona you created (In our case, “Sales 1”)
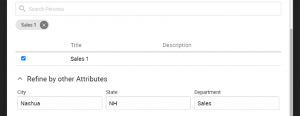
Click “Impersonate”
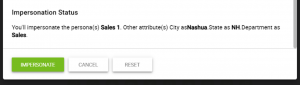
Now we can see the “Persona Testing” Collection is displayed for the persona.
SLW Custom Views
When implementing a Summary Links Widget into your site, the default view and layout given to you at first will do the job, but if you want to change the look and feel of your widget, or even implement other custom created views built for the job, then this feature will make things easy to manage and implement.
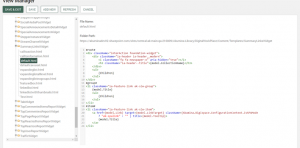
- Navigate to your site’s Central Site, go to Management Apps and click on View Manager
- Expand the “Content” folder, and then the “Templates” folder. Select the “SummaryLinksWidget” folder
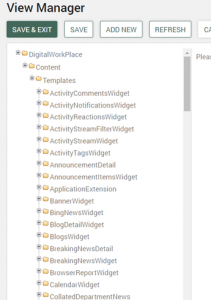
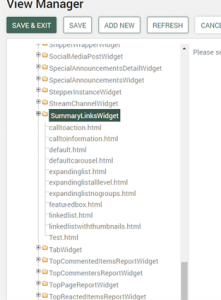
This will display the existing default views for the Summary Link Widget.